This article shows how to apply accountability codes to test sessions. In your district, accountability codes may be called Not Tested, Exception Irregularity codes, etc. They provide a way for designated users to tag students who should not test, or who were tested but should not appear in reporting. The available codes, what they do, and who can add them depends on your site implementation. Depending on role permissions, users can apply codes individually from the administration card or bulk apply codes from Session Explorer.
See also: Administrations Page & Card.
Apply Codes from the Admin Card
You can apply accountability codes from the administration card in ADAM one student at a time.
- Go to Test Management > Administrations.
- Find the appropriate Admin card.
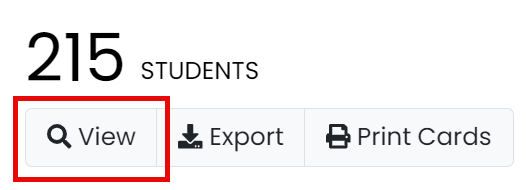
- Click View under Students.

- Locate the student who needs a code, and then click Apply in the Code column.
- In the pop-up menu, select a code.
- Click Apply. Repeat as needed for additional students and administrations.
Apply Codes to Multiple Sessions
The following method is available only if your role has permission to access Session Explorer.
- Go to Operations > Session Explorer.
- Apply the appropriate filters to find the sessions you want.
- Select checkboxes for the sessions needing the accountability code. There is a row for each session. Make sure you are selecting the student's correct session by looking at the test name.
- Click the Set Code button in the Acct Codes column for any of the selected sessions. (You can also select Bulk Apply Accountability Codes from the more menu.)
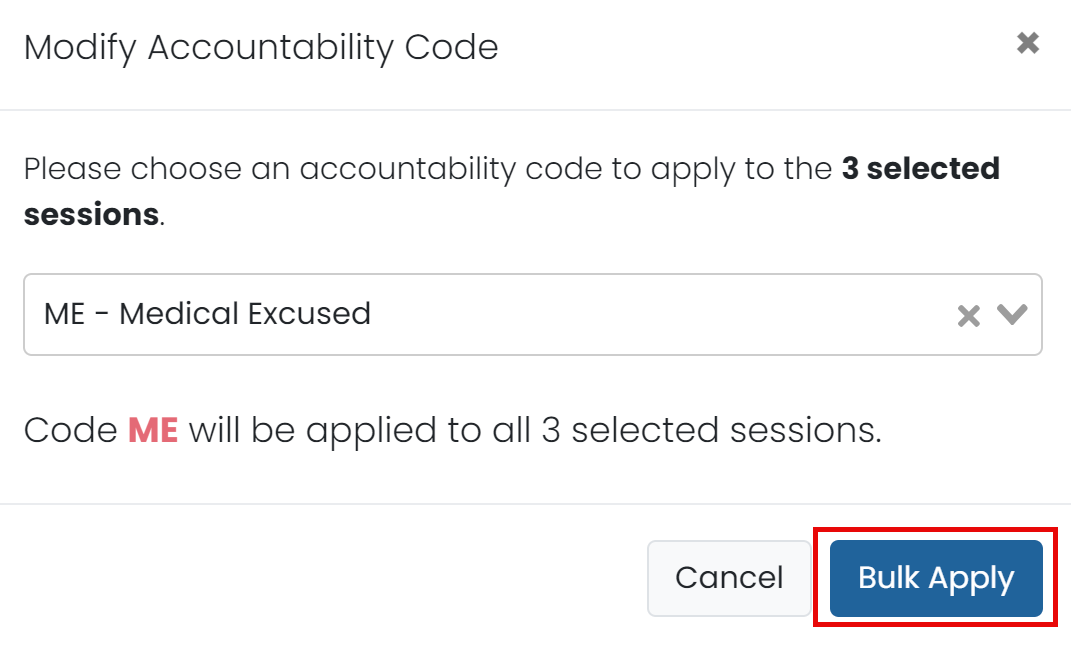
- Select the code to apply.
- Click Bulk Apply.

Tiny Link: https://support.assessment.pearson.com/x/04CNC