to define the identifying information students will provide when taking an assessment. This is what will be printed on the printed student test tickets. Informational informational fields may also be provided. The uniqueness of a student in an administration is defined by the authorization field(s) in the field set: this means you cannot have only Last Name as an authorization field because ADAM might find two students with the same last name (this will trigger an error when setting up administrations). The Test Code is always required, so no need to add. As a best practice, use two keys for the authorization field, such as Last Name + Identifier or Last Name + Random ID.
- Select Test Management, and then select Field Sets.
- Select the Create New.
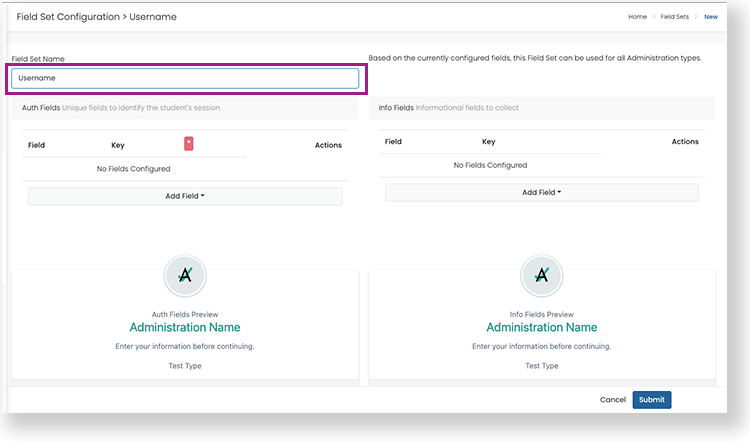
- Enter a Field Set Name.
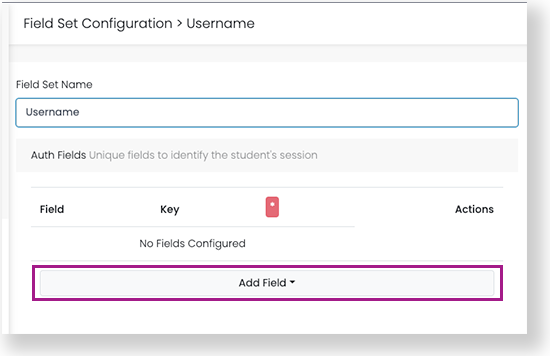
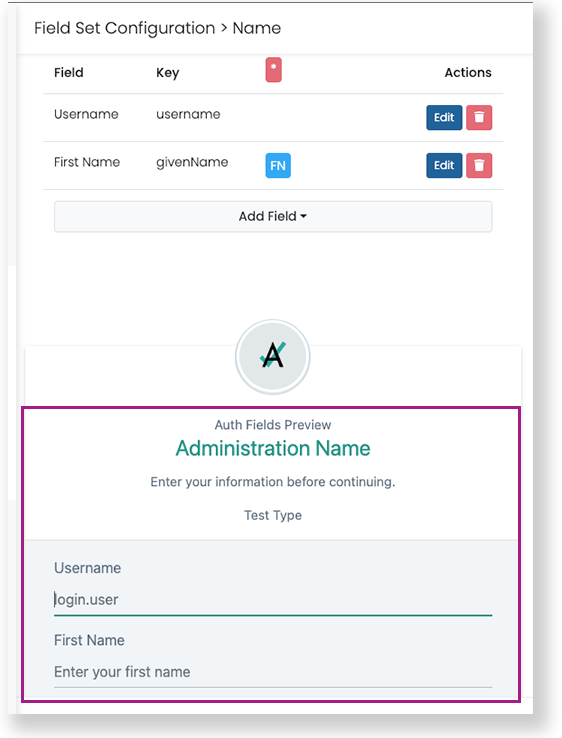
Under Auth Fields, select Add Field.
Select a field used to verify the student, such as Username. Add additional authorization fields as needed (there must be at least one).
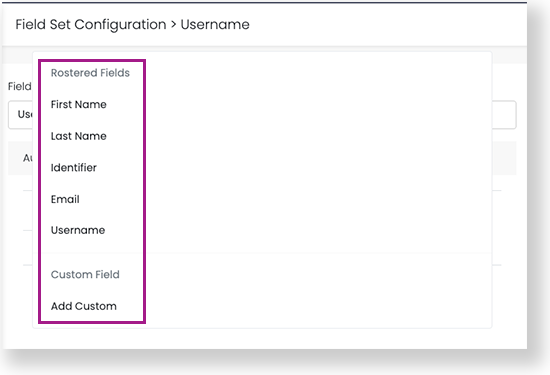
- If adding a custom field, you need the database key for the field. Generally, avoid custom fields unless there is a specific customer requirement.
Optional: Select Add Field under Info Fields, and then add any additional informational fields you want to collect from the students.
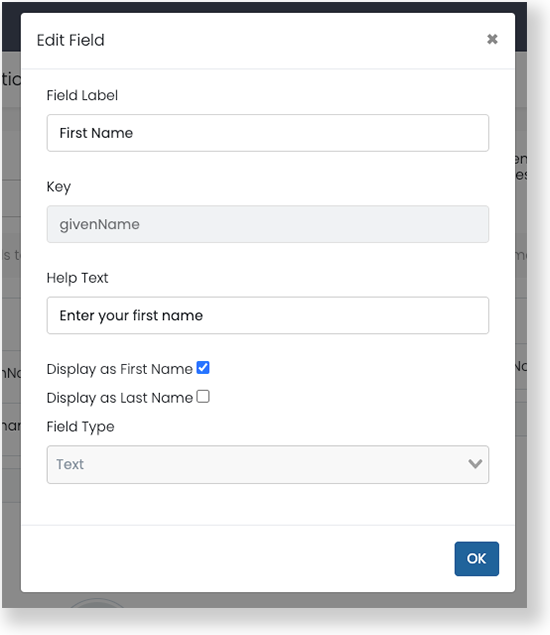
Optional: Select Edit next to an added field to change its field name or add help text for the field.
After selecting fields, check the preview cards at the bottom to confirm the field set is correct.
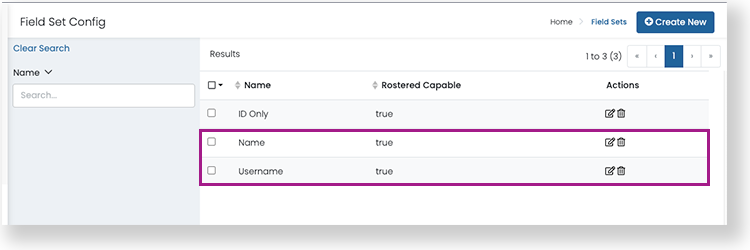
- Select Submit. The new field set(s) appear on the Field Set Config page.
Tiny Link: https://support.assessment.pearson.com/x/IYBHBg