ADAM users with appropriate permissions can manually create or edit classes on the Class Config page. Do not create or edit classes manually if an automated sync is in place with your Student Information System or if using LaunchPad.
Classes cannot contain more than 200 students.
You can also upload classes; see the following pages:
To manually create or edit a class:
- Go to Rostering > Classes.
- Select Create New for a new class or the edit icon for an existing class.
- Under Class Setup, complete the required fields. Enter data in optional fields to add more detail to a class.
- Title: Enter the class title.
- Class Code: Enter the class code.
- Location: Optional. Enter a location, such as a building.
- Class Type: Optional. Select the type of class.
- School: Select the institution.
- Course: Select the course.
- Academic Sessions: Select the academic session or sessions.
- Sourced ID: Enter the sourced ID.
- Grades(s): Optional. Select the grade or grades for the class.
- Period(s): Optional. Type the period.
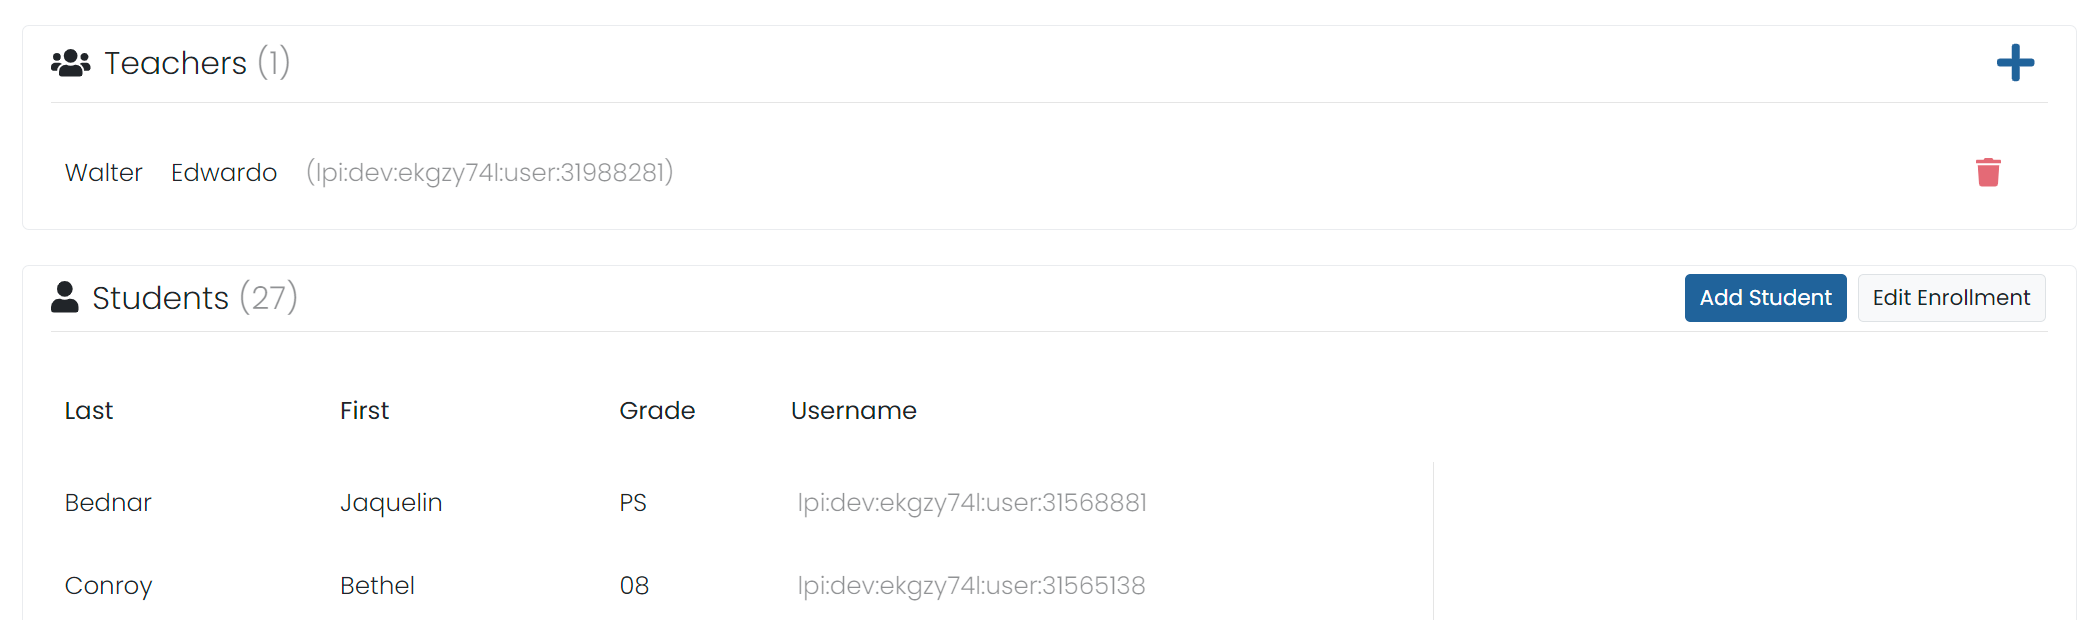
- In the Teachers area, select the Add icon to add one or more teachers. Select the teachers you want to add, and then select Done.
- In the Students section, you can:
- Select Add Student to search for and add students.
- Select Edit Enrollment to remove students or change their primary enrollment setting.
- Select Submit. The class appears on the My Classes page.
Add teachers and students (steps 4 and 5).
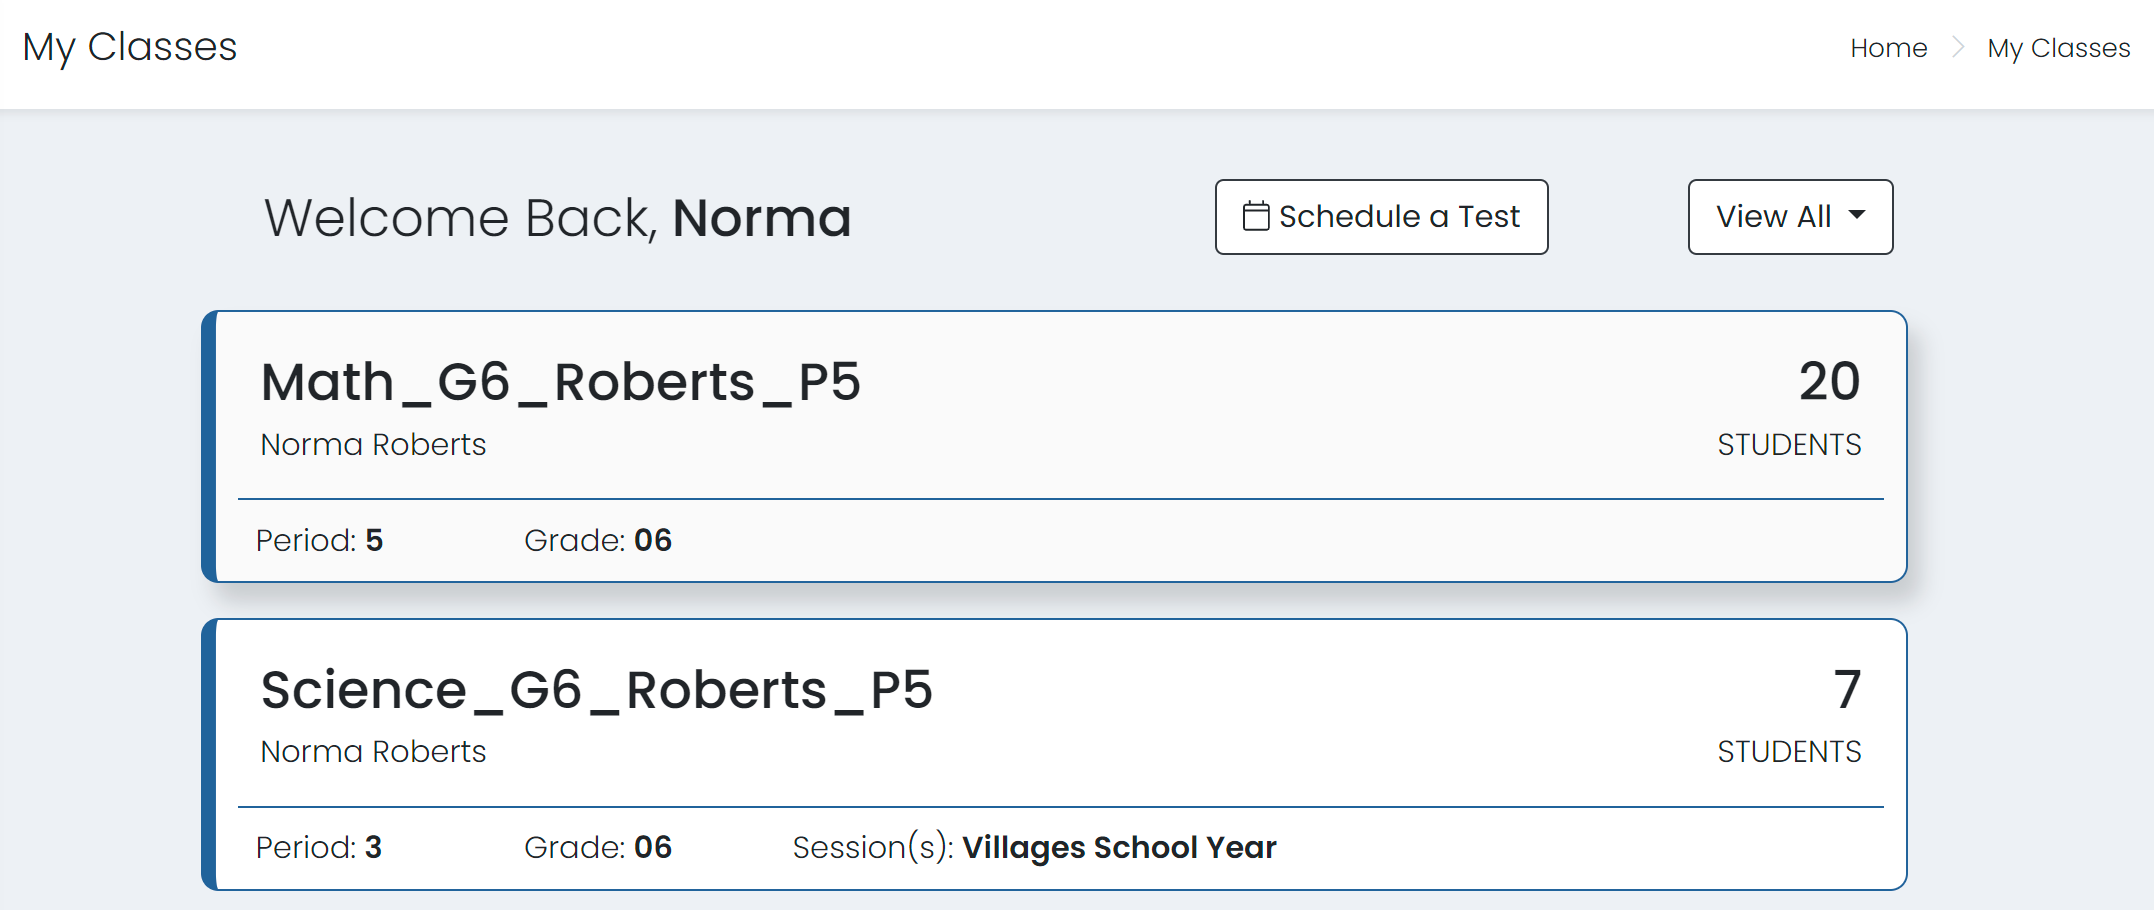
Teachers see their classes on the My Classes page.