Proctor an Eligibility-Based Administration
This page outlines the steps for creating an eligibility administration, as well as authorizing students into the administration for testing. An eligibility-based administration rosters students based on student criteria (grade, organization and optionally test assignment) instead of class criteria (grade, course, class, organization).
Unlike in a class-based administration (where proctor groups and their test codes are created at the same time as the administration), eligibility proctor groups can be created "on-the-fly" when proctors use 'Proctor Group Creation Login' credentials. By creating their own proctor group, proctors generate a test code specifically for their students. Some customers may wish to have test coordinators pre-create proctor groups for some or all students.
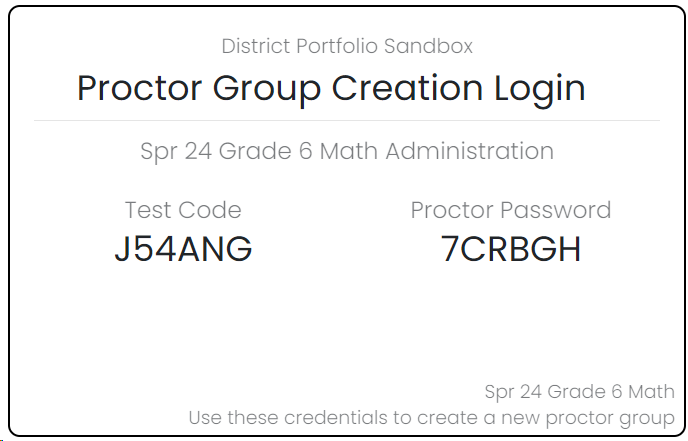
The Proctor Group Creation Login card should be provided to each proctor who will create their own group. Students cannot test with this test code.
See also:
Step-by-Step
Opening the Proctor Dashboard
Before students can access their test, the proctor must enter their credentials and create their own proctor group.
After these steps, the proctor will:
- Have a unique test code and proctor password specifically for the testing group
- Provide the unique test code to the students in the testing group to begin testing
To create the new group:
- Go to your ADAM sign in page and select Proctor a Test
 URLs will vary, ask a test administrator if you are unsure what to use.
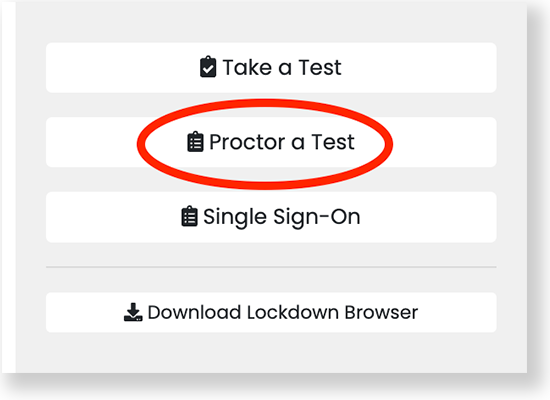
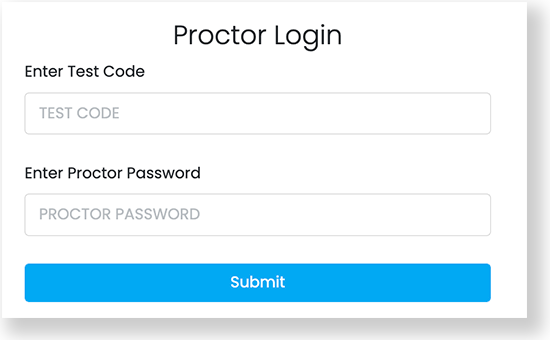
- Enter the credentials from the Proctor Group Creation Login card, then select Submit.
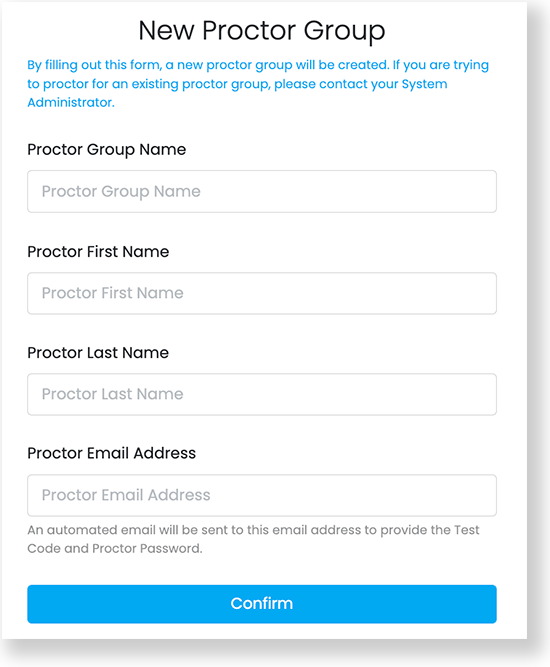
- Complete the New Proctor Group form, then select Confirm. You are redirected to your proctor dashboard.
- If you are on the page shown below, but you have already created a proctor group for this administration, use the proctor group-specific test code and proctor password that was previously emailed to you.
- If you cannot find those codes, then contact your ADAM test coordinator to retrieve your existing test code and proctor password.
Starting the Administration
If you need to sign back in...
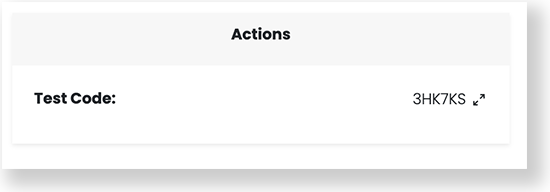
An email was sent to the email address you entered when completing the New Proctor Group form. This email includes a unique test code and proctor password, which you can use to sign in to the Proctor a Test page.On the proctor dashboard, find the test code in the Actions section. Give this test code to the students in your proctor group when it is time to begin testing.
- Instruct students to go to the testing application.
- Provide students with the test code.
- Instruct students to follow the prompts on their screen to access the test...this will include the student validation code set up during test setup. This might be the state student ID and their last name.
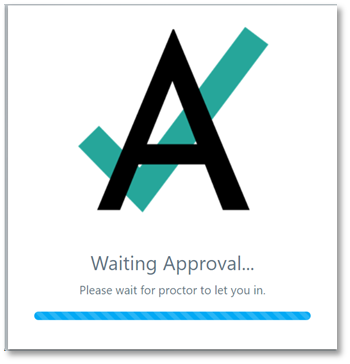
- Unless this feature has been disabled for the administration, once a student enters their credentials, they will see a message that the proctor needs to let them in.
- As students complete sign in, they appear in the proctor dashboard.
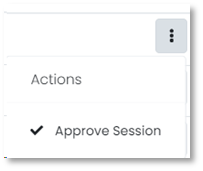
- Select Approve Session in the kabob menu for each student to let students in one at a time as their Progress status changes to 'Needs Attention.'
Alternatively, wait to approve the entire group at once using the Approve All Sessions button.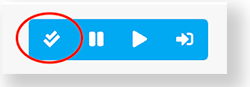
- Use the features on the proctor dashboard to control the sessions.