You can use the Upload Proctor Group option to quickly manage the proctor groups. You can create proctor groups with or without students. Once uploaded, you can manually add and remove students as needed. See also: Edit Proctor Group Membership.
Access Upload Proctor Groups Area
- Navigate to Test Management > Administrations.
- Locate the administration and then select the View under Proctor Groups.
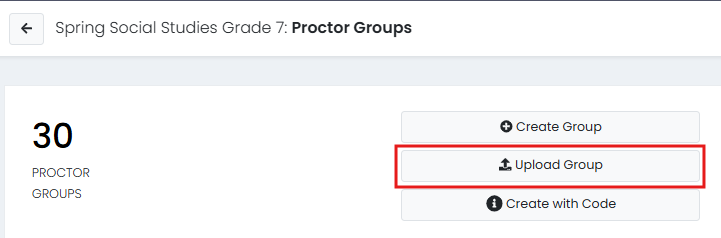
- Select Upload Group.
- Choose from:
- All Students
- All Unassigned Students
- No Students: This option will create a template with two columns only: testing_org_id, new_proctor_group_name - There are three steps in this process, described below.
Generate and Complete the File
Step 1 - Generate a Roster File
Select the Click to download template button.
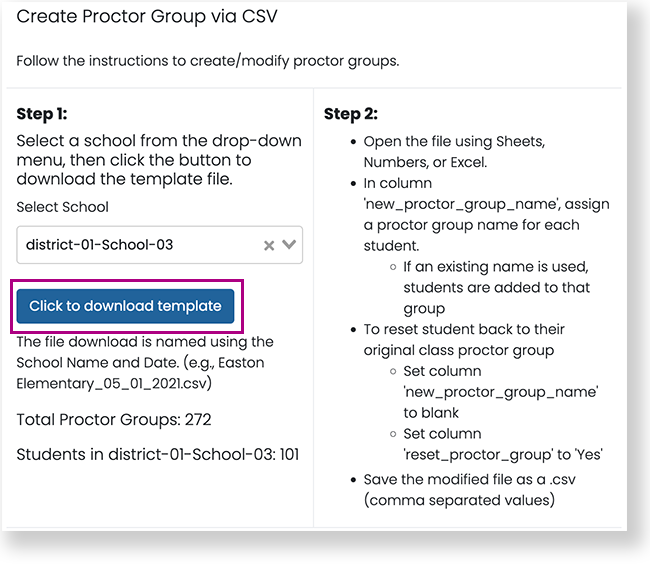
Step 2 - Update the Roster File
- Select Template History to locate the downloaded file
- Open the roster file.
- Follow the instructions in Step 2 on the ADAM UI page to modify the template you downloaded.
- Save the roster file as a .csv file.
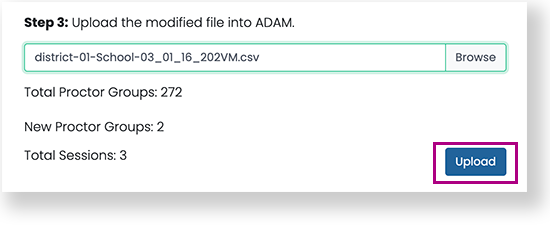
Step 3 - Upload the Roster File
- In the same Proctor Group Upload window, select Browse to upload the modified roster file. You can also drag the file into the upload box.
- Select Upload.
The proctor group(s) appear in the administration proctor group list.
Tiny Link: https://support.assessment.pearson.com/x/loNHBg