Updating Student Accommodations (DTAs ONLY)
Accommodations are typically assigned through a data upload prior to the test administration. However, DTAs can modify student accommodations and language (English or Spanish) settings through the ADAM user interface (UI) when necessary. To learn to do so, DTAs should continue through these steps.
Select a tab below for instructions on updating accommodations for multiple students or an individual student, when necessary.
Users with the appropriate permissions can use the Student Accommodation Upload process to review, adjust, or add assigned accommodations to a student roster file to update multiple student records. To modify accommodations for a single student, you can go to Rostering > Users (see Assign Accommodations).
- Go to Rostering > Users.
- Search for the students you want to view or update (set the Role filter to "Students"). You can search for all the students in a school, a specific class or a single grade.
- Select the checkbox in front of each student to update, or select the checkbox at the top of the list to select all students, or those on the current page. It is fine to include students here who will not need an accommodation as you will make assignments in a later step.
- In the Actions menu on the top right, select Student Accommodation Upload.
- Follow the on-screen instructions to:
- Select Template History and then download the file. If prompted to convert leading zeros, DO NOT accept.
- Open and modify the file by setting accommodation values as described below.
- Save (as a CSV) and upload the file back into ADAM. If there are errors in the file, a "Validation Error" message will appear with a link to Download CSV with Errors; this file has an additional "Errors" column with a description of each error. Fix the errors and reupload the file.
Modifying the Roster File
Each student will have one row for each accommodation profile. In example below, each student has three rows: Default, ELA and Math. Only the accommodations enabled in your system will appear in the CSV file.
Only edit the data in the accommodation columns. For the accommodation columns:
- Add a 1 to any accommodation cell to enable an accommodation.
- Remove the 1 from any accommodation cell to disable an accommodation.
- If a cell contains 'NA' it is not editable; any changes made will be ignored.
- If the column header indicates 'locked,' you do not have rights to grant this accommodation. Any changes made to the values in those columns will be ignored in the upload.

- If the column header indicates 'requires approval,' you can enter '1' to make the request, but the student will not receive the accommodation until an approver grants it. You will receive a notification when they either accept or reject the request. See also: Add Accommodation Requiring Approval


- Select Rostering, and then Users.
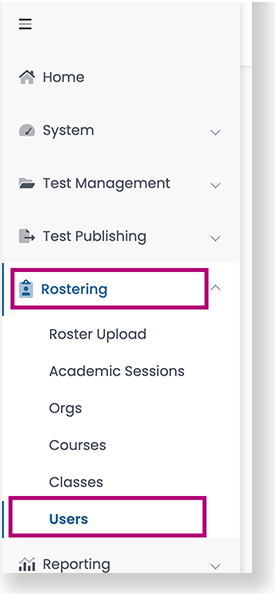
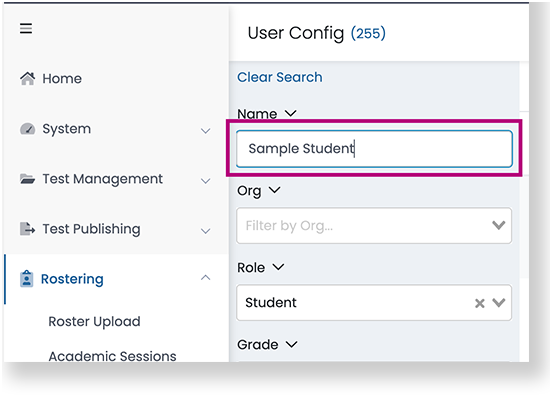
- From the Role dropdown, select Student. Scroll to find the student's name or search for it.
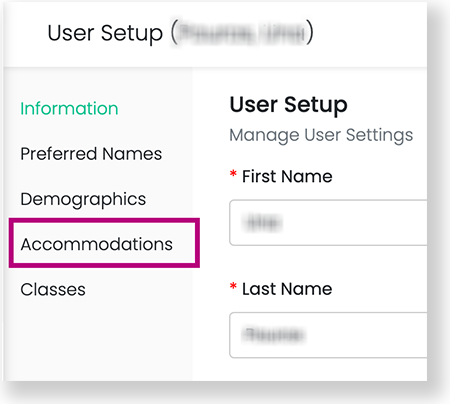
- Scroll to the right to select the Edit icon.

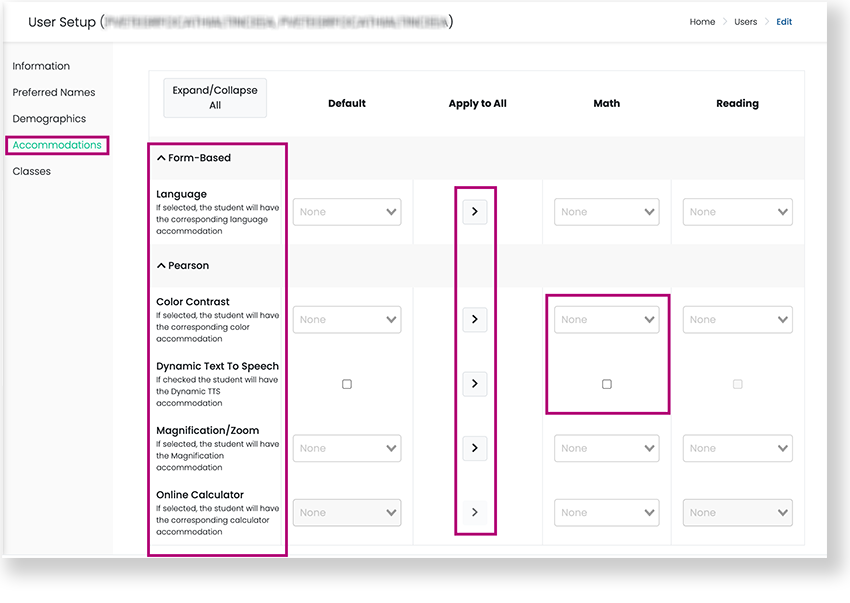
- Select the Accommodations tab.
You can change the language if needed, and available accommodations include Color Contrast, Text-to-Speech (TTS), Magnification, and Online Calculator. Select the student's approved accommodations. You can also select the right arrows to apply those accommodations to all listed tests or select the dropdowns and checkboxes to specify when to enable them.
- When you have modified all approved accommodations, select Save.