Remote Test Proctoring (RTPaaS): Student View
RTPaaS connects the proctor through their assessment management system to remote testers using TestNav.
RTPaaS Overview
RTPaaS delivers real-time video of the student to the proctor. The proctor and students can use the RTPaaS Help Tool to communicate during the test session.
- The student can raise their virtual hand to notify their proctor that they need help.
- The proctor can begin a chat or video session with each student.
- The proctor can also broadcast a message to all students within a test session.
The RTPaaS Help Tool appears within the TestNav user interface (UI), and each student can move and adjust it within the TestNav screen.
Prerequisites
- If using ADAM: Before testing, a user with permissions to do so must create a test administration and select Remote Proctoring on the Proctor Group Config page when creating a proctor group in ADAM.
- If using PAN: Before testing, a user with permissions to do so must create a session with the remote testing option selected.
The Student Experience with Remote Test Proctoring
The instructions below apply only to the student experience in TestNav. Proctors should use these to help students navigate RTPaaS during a remote test session.
- ADAM users who proctor a test using RTPaaS, see also Remote Test Proctoring (RTPaaS) Proctor View.
- PAN users who proctor a remote test in TestNav, see also Start a TestNav Remote Session.
Sign In and Perform System Checkup
The student should:
- Follow instructions the proctor sent to open TestNav.
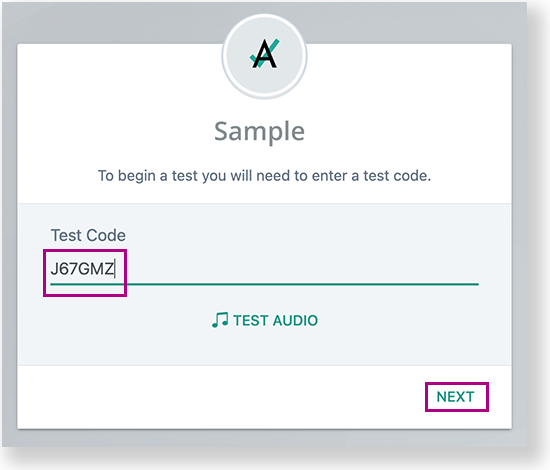
- Enter the test code from the test ticket provided by the proctor provided and select NEXT.
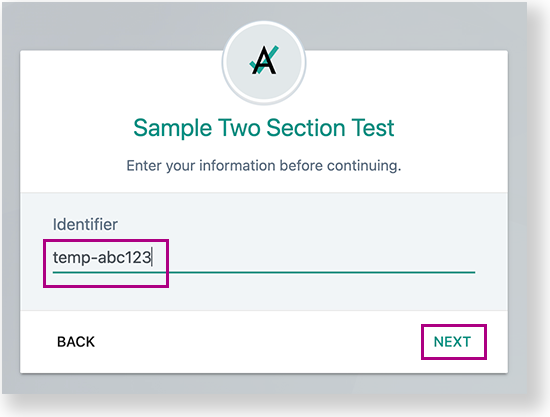
- Enter the identifier and select NEXT.
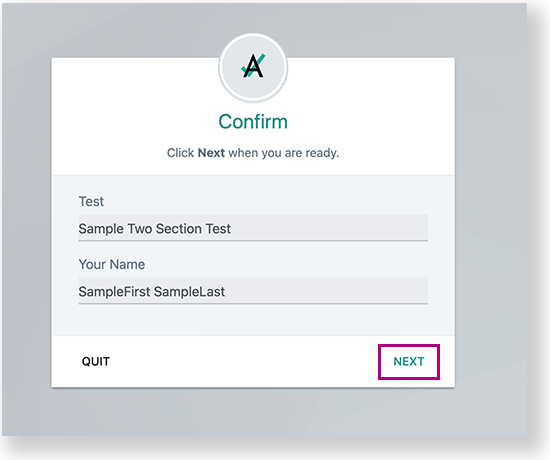
- Confirm the test and name and select NEXT.
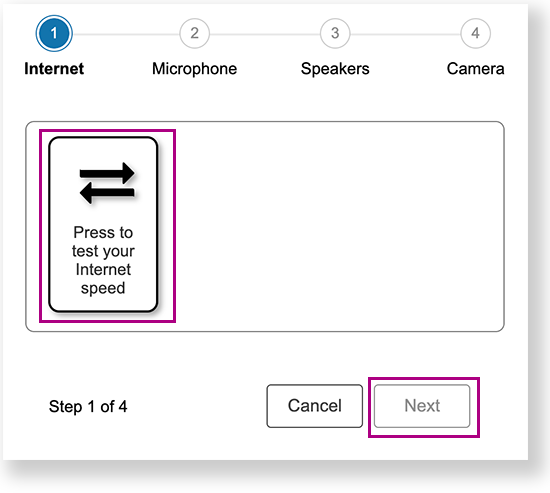
- System Checkup and the RTPaaS Help Tool appear. The student should select Begin Checkup and go through each System Checkup step to ensure that the testing device is ready for remote testing.
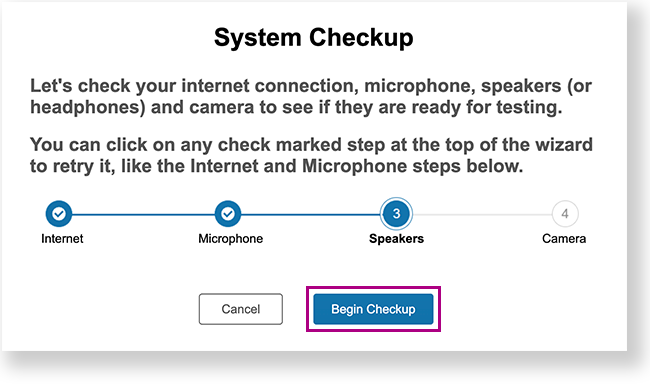
Each section instructs the student to press a button to check that aspect of their device.
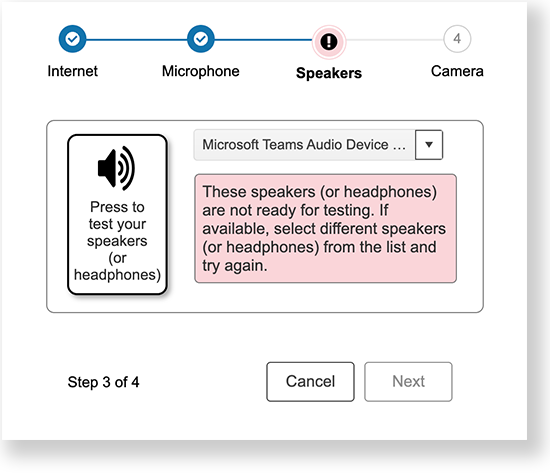
If the student's device has multiple microphone or speaker options, they can select one on each section. If the student selects an unavailable option, System Checkup informs the student of the error and advises them to make another selection.
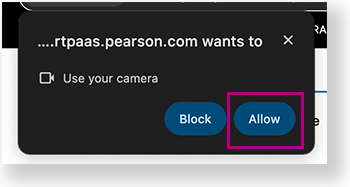
The device might open a pop-up to allow RTPaaS to use a camera or microphone. The student should select Allow if these appear.
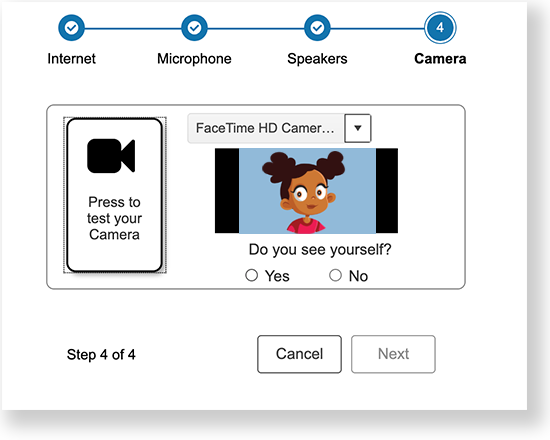
After the student presses the button to test their camera, they should select Yes if they see themselves and then select Next.
After the student goes through every section, a success message appears. The student should click Next.

Use the Help Tool
After the System Checkup is complete, the TestNav Start page appears. The student can click and drag the RTPaaS Help Tool around the test page for their preferred view of the test. The student can also minimize the Help Tool to move it to the lower left-corner of the page.
Within the RTPaaS Help Tool, the student can interact with features within the test session. See the callouts and descriptions below for details:
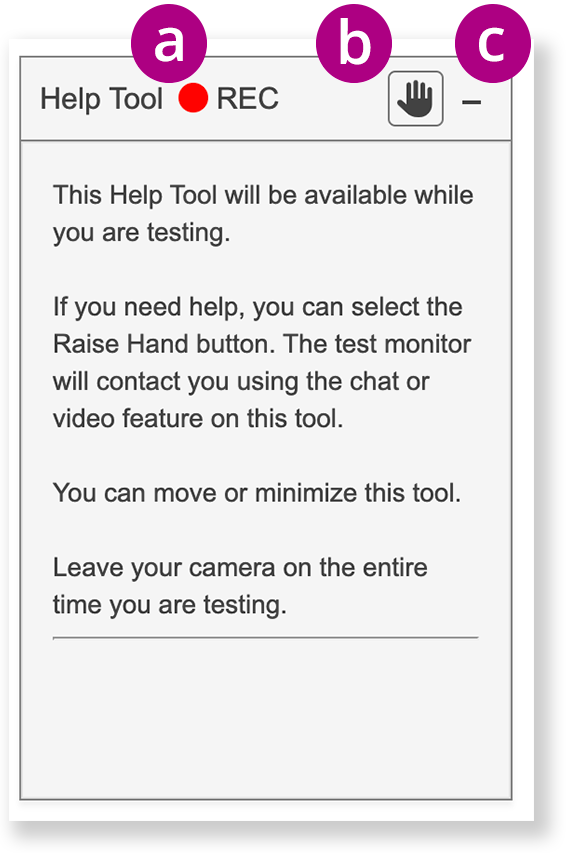
a - The student can see that they are being recorded with the red REC indicator.
b - The student can select the hand icon to virtually raise their hand to prompt the proctor to begin a chat or video conversation.
c - The student can select the minimize icon at the top-right of the Help Tool minimize it to a tab at the bottom of the page. The student can click the maximize button to see the Help Tool again, as shown above.
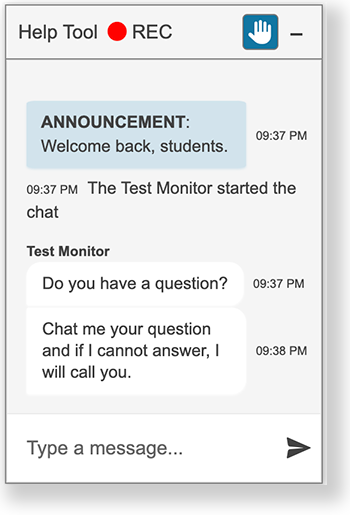
After the proctor begins a chat with the student, they can type a private message directly to the proctor within the chat window.
- If the proctor sends an announcement, it also appears in the chat window.
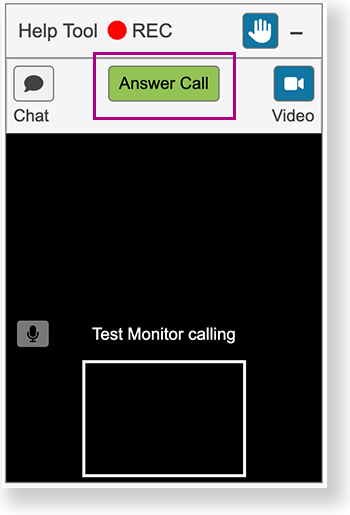
- If the proctor begins a call, the student hears a ring and can answer the video call.
- If the proctor sends an announcement, it also appears in the chat window.
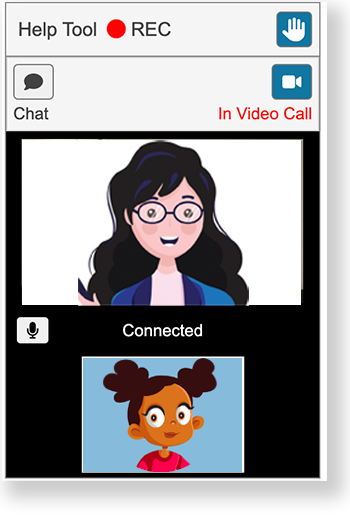
e - After the student answers the video call, the student can click the:
- Mute icon to mute themselves or turn on the microphone to speak.
- Chat icon to toggle between the chat or video call.
If any issues occur the proctor might see one of the following errors:
- Tester exited. No Video available.
- Network Down. No Video available.
- Network Issues. No Video available.
When these occur, the proctor can wait for a few minutes for the student to reconnect. If the student cannot reconnect, the proctor can email the student with further instruction.
The proctor might also see the error below if the student experiences a camera issue:
- Camera not working. No Video available.
The proctor can chat the student to help the student try to fix the camera issue. If the student cannot reconnect the camera, the proctor can decide on action to take (for example, exiting the student from the test until the issue is resolved).