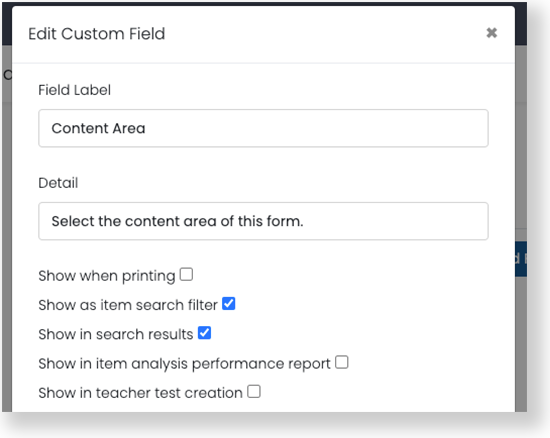
In the Bank Edit window, set up metadata fields for forms. Use these to create tags for data that does not already exist in a default tag. The process is the same for both QTI Authoring and AD Authoring.
Select Authoring > Banks.
Select the Edit Bank icon.

Select the Form Metadata tab.
Select the Add Field button.
Field Label: Enter a name for the metadata field. The label is used when displaying the field on screen. A version of the field label is used in the metadata export file.
Detail: Enter a description of the metadata field.
Show Settings: These checkboxes determine when a specific metadata field should display.
Show when printing: Select to include this field when printing the Form.
Show as item search filter: Select to include this field in the Metadata dropdown Form filter and as a static Form filter in Form search.
Show in search results: Select to include this field as a column on the Form search page.
Show in item analysis performance report
Show in teacher test creation.

Field Type: Select a field type. There are four field types that determine the input controls available for recording data in a metadata field: Text, Checkbox, Select, and Multi-Select.
Select OK to save the metadata field.
Repeat this process as needed, then select Save.
Tiny Link: https://support.assessment.pearson.com/x/iwAgBg