Monitor or Change Student Test Status
You can monitor student tests to track each student's testing progress during a session.
You can monitor tests for all students, except those in Ready status. Test and item progress can show:
- Each section
- Sequence
- Item (marked Visited, Answered, or Unanswered)
- Item receipt information from Pearson servers
- Student response (only with specific permissions)
To read a description of what each student test status represents, refer to Student Test Status.
Prerequisites
You can monitor test status only after the test session has started and before the test session has stopped.
Step-by-Step
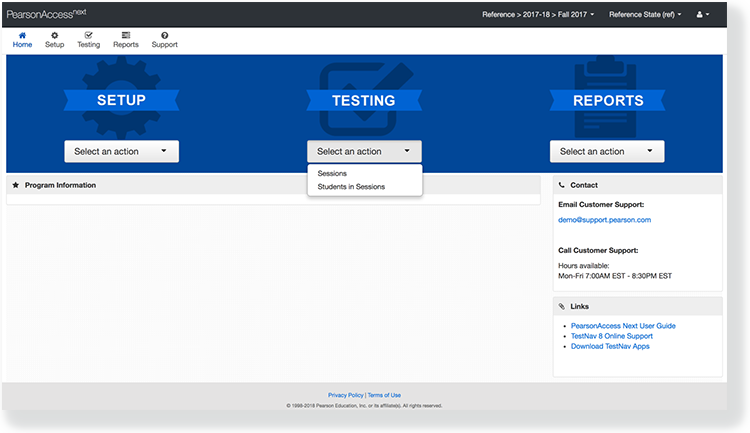
From Testing, select Students in Sessions.
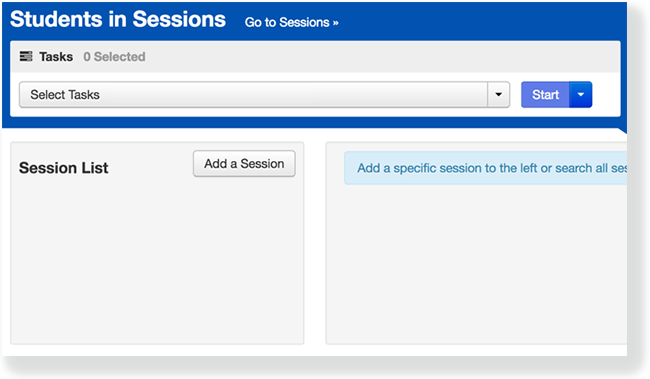
Click Add a Session.
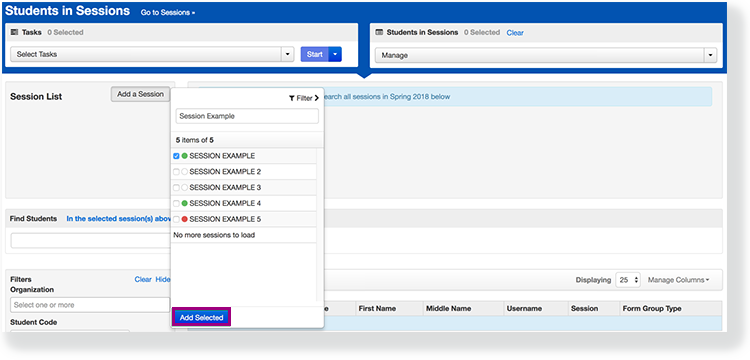
Type a session name into the search field, and click the checkbox next to the session.
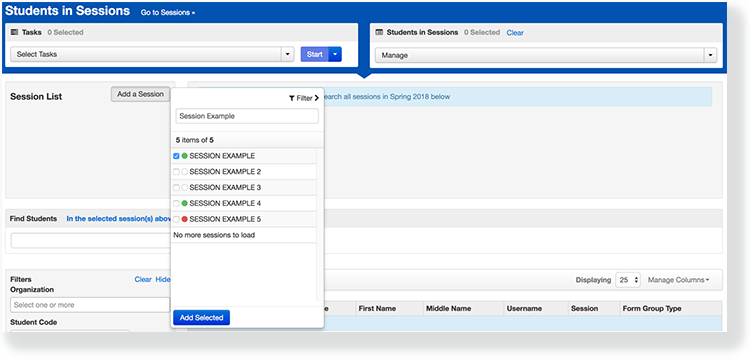
- Click Add Selected.
View test session details
View a Student's Testing Status
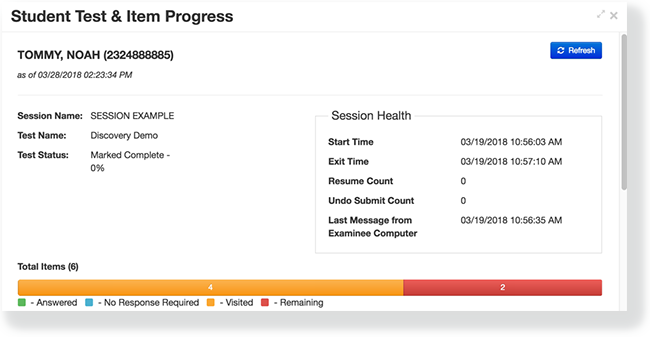
Click a student test status.
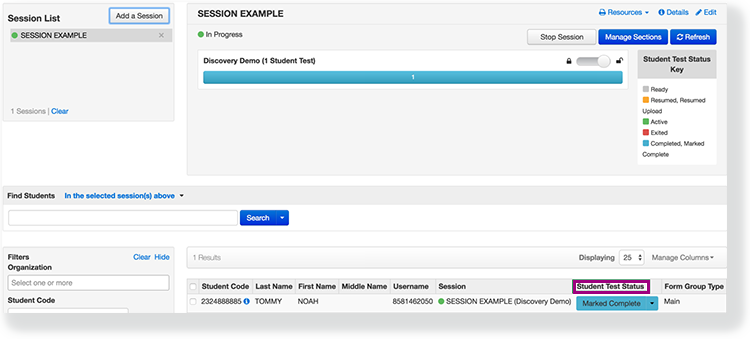
- Review the student test and item progress and other test-related details.
- View the Student Test Status Dashboard
Click the pop-out button
 above the Session progress bar.
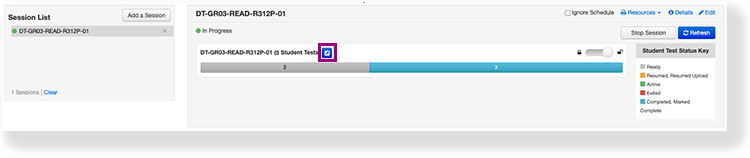
The dashboard opens in a new browser tab. Sessions with strict battery tests have a separate pop-out button for each unit in that session. The pop-out button is only available when the session is In Progress.
View the dashboard to monitor testing statuses and progress for all students in the session.
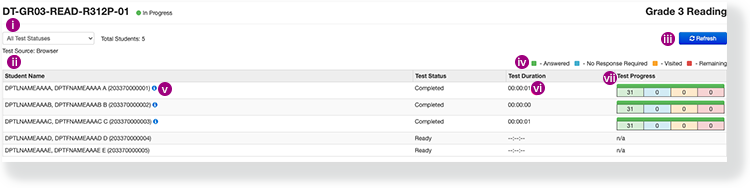
Select a test status to filter the student tests. In the Test Status column, the system displays a red triangle
 and an error number to indicate an error occurred. You can click the error number to view the support page with the error code descriptions.
 The Test Source displays the source the student is using for testing (browser or TestNav app).

Additionally, battery life indicators display when a student is actively testing to indicate the status of the battery on the device the student is testing on. When a battery reaches 20%, the indicator fill section displays in yellow. When the battery reaches 10%, the battery appears in red. When a device is connected to a charger, the battery displays with a lightening bolt.
- Click Refresh to update the student test statuses.
- Use the item level progress legend to understand each students test progress.
- Click the information icon to view the student test and item progress in a pop-up window. This icon is not available for tests that are in Ready status.
The Test Duration column displays the total time a student has been testing (the time is based on start and stop times from the test delivery system).
- Each Test Progress bar graph displays the overall item level progress using a color bar and count. When there is not data to display, n/a displays.
What's Next?
At times, a student's test status requires you to perform a task. ![]() Tasks available vary by program.
Tasks available vary by program.
- If a student exits a test before finishing the test, and you want the student to continue the same test, see Resume a Test.
- If a student has finished or will not continue a test, but the test was not automatically marked Complete, see Mark Student Tests Complete.
- In the rare case that the system encounters issues while processing a test, see Undo Student Test Submission to resubmit and reprocess the test.