...
After you download TestNav, complete the setup using the sections below.
| Tip | ||
|---|---|---|
| ||
During BOTH the infrastructure trial and the actual test, note Note which specific device each student uses during each test. TestNav saves SRFs to only one designated place on the testing device. If an error occurs, you can locate files only on that specific device. |
Install
...
TN App
To install TestNavTN app, first ensure each device's settings are set to keep local data to avoid accidentally deleting the SRF and log files. Then, you add TestNav as a kiosk app.
| Info | ||
|---|---|---|
| ||
If your content filters are activated when a student signs in to the Chrome device, contact Pearson Support for additional URLs to add to your kiosk settings for URL blocking. TestNav does not require that the student sign in to the Chrome device. As a result, these content filters do not filter as intended during a TestNav test. |
Step-by-Step
...
- Sign in to the Google Admin console for your domain, using your administrator account (does not end in @gmail.com).
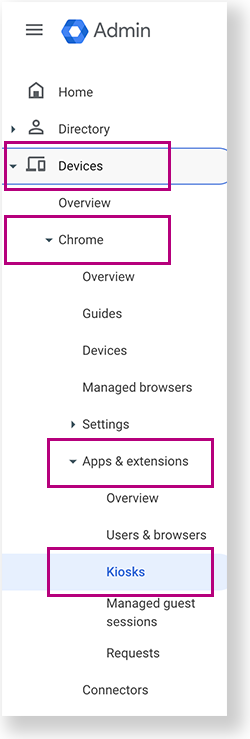
From the Google Admin console home page, go to Devices > Chrome >Apps & extensions >Kiosks.
- Under Organizational Units, select the top-level organization that you want to apply these settings to. Then, select a child organization, if necessary. In the example below, Pearson is selected to give all Chromebooks within the Pearson organization access to TestNav.
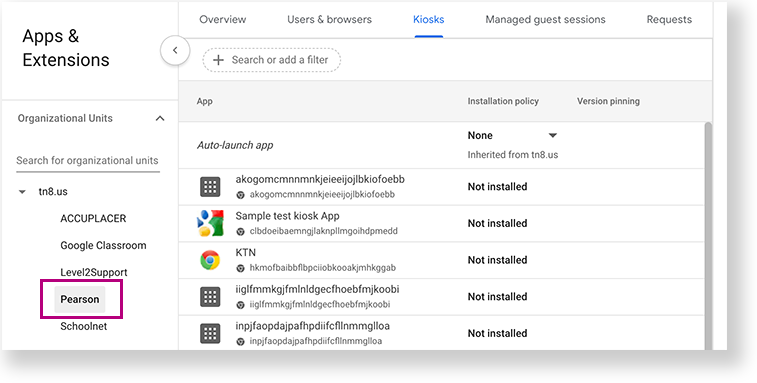
- Click the Add Chrome app or extension by ID icon.

- Copy and add the following ID: kfjnmlkbkemaodmgnmokejpbfiianddi
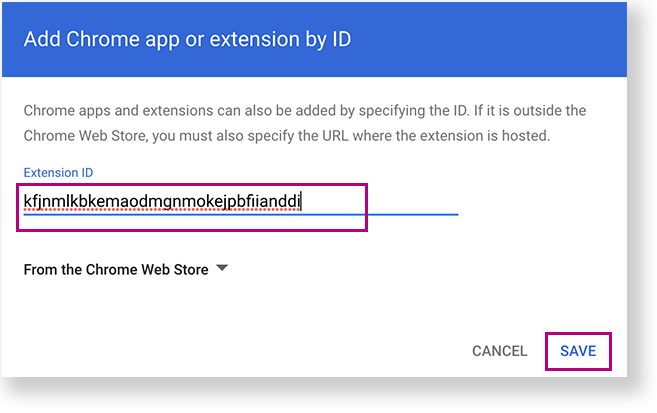
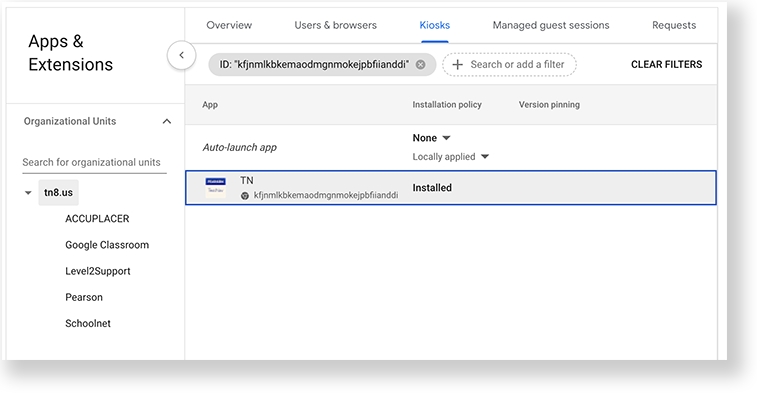
- Click Save. The TN app appears as Installed.
Anchor launch launch
Sign in to TestNav
| launch | |
| launch |
...