| Tip |
|---|
| Note which specific device each student uses during each test. TestNav saves SRFs to only one designated place on the testing device. If an error occurs, you can locate files only on that specific device. Each installation page contains information on SRF storage locations. |
Step-by-StepPrior to testing, a proctor, test coordinator, or technology personnel should install TestNav on each testing device (installation varies by operating system). Then, run App Check on each device prior to testing to ensure that they pass requirement and system checks. | Digi Accordion |
|---|
| title | View App Check instructions... |
|---|
| - Open TestNav on the testing device.For
- demo purposes, select the Reference icon on Select ADAM on the TestNav home page. If previously selected, the next image appears without displaying the TestNav home page, if not already selected. Students will select ADAM in an actual test session.
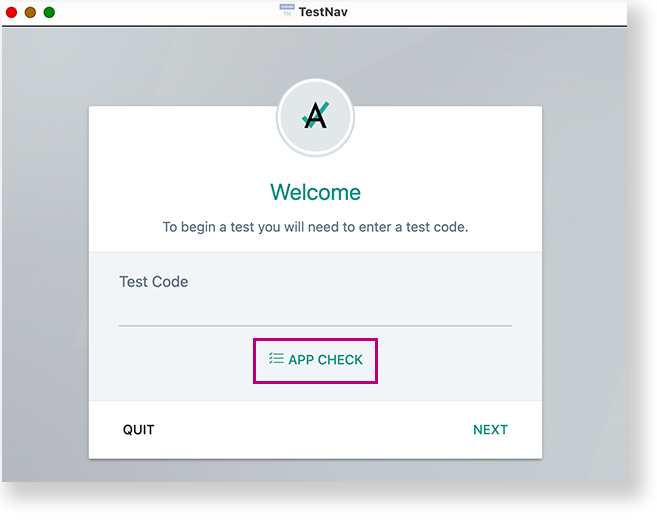
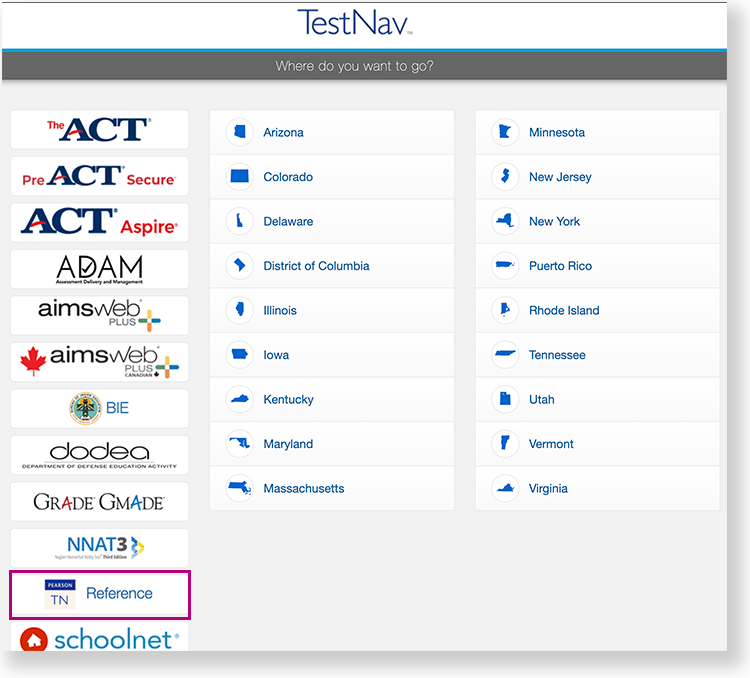 Image Removed Image Removed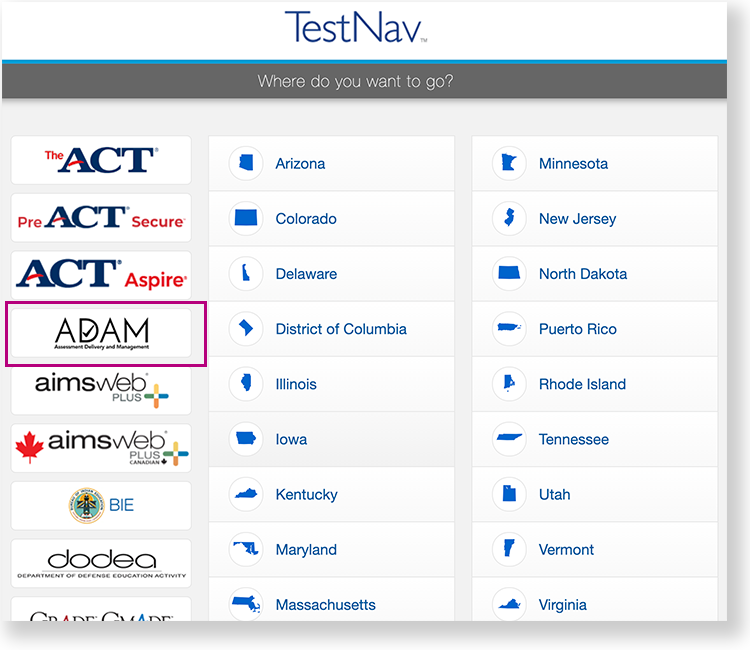 Image Added Image Added - Below the Test Code field, select App Check.
 - If the device passes all checks, green messaging appears, as shown in the example below.
- You can select the Test Audio button to ensure you can hear audio from the device.
- Then, you can select Back to Login to log in.
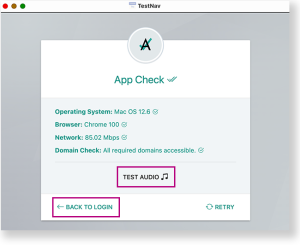
If a device does not pass App Check, follow instructions App Check provides to fix the issue or use a different device.
|
A test proctor should give each student a test card with details to enter into TestNav. - For demo purposes, select the Reference icon Select ADAM on the TestNav home page, if not already selected. Students will select ADAM in an actual test session.
If your test . If ADAM was selected before the test session, you see Welcome the page, rather than the home page.
Image RemovedImage Added
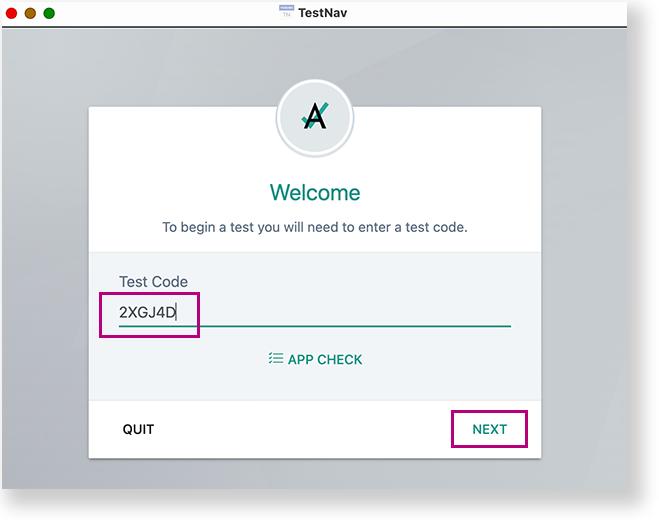
- Enter the Test Code, and then select Next.
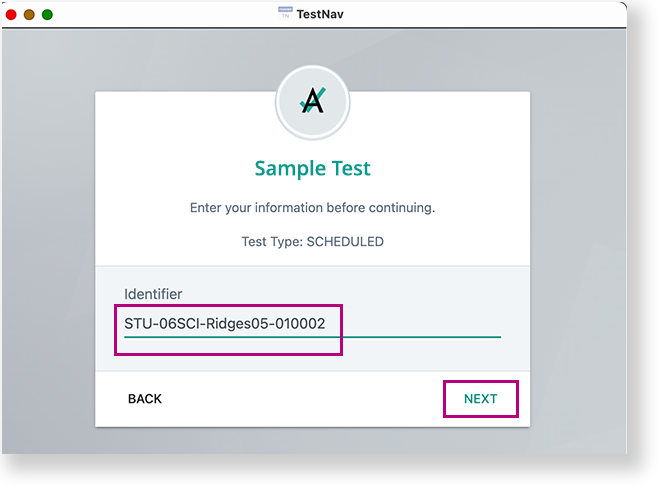
- Enter the student ID in the Identifier field, and select Next.
- Confirm the Test and your name, and select Next.
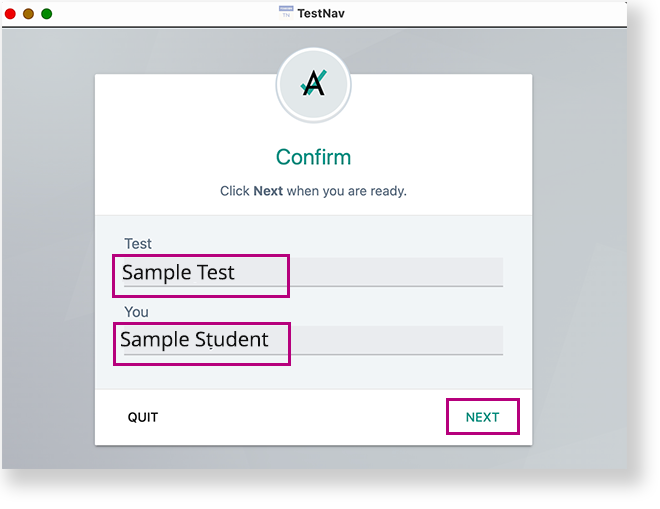
TestNav opens and the student can begin testing.
| 