
...
Install TestNav Desktop using the instructions below.
- Run App Check to verify system readiness and capacity.
- Sign in to TestNavStart TestNav Desktop to ensure that it installed properly.
Set up ProctorCache on your proctor caching computer(s).
Run App Check to verify system readiness and capacity.
Set Up Response File Backups, and set up a Secondary Save Location.
...
TestNav program file updates are saved in {user_home}\AppData\Local\Pearson. You must give students write access to the update directory.
| Anchor | ||||
|---|---|---|---|---|
|
| Include Page | ||||
|---|---|---|---|---|
|
| Anchor | ||||
|---|---|---|---|---|
|
...
Sign in to TestNav
...
From the Start menu, click TestNav.
TestNav should appear in the Start menu. If you do not see TestNav, type TestNav in the search box.Expand title Click here to view a screenshot... 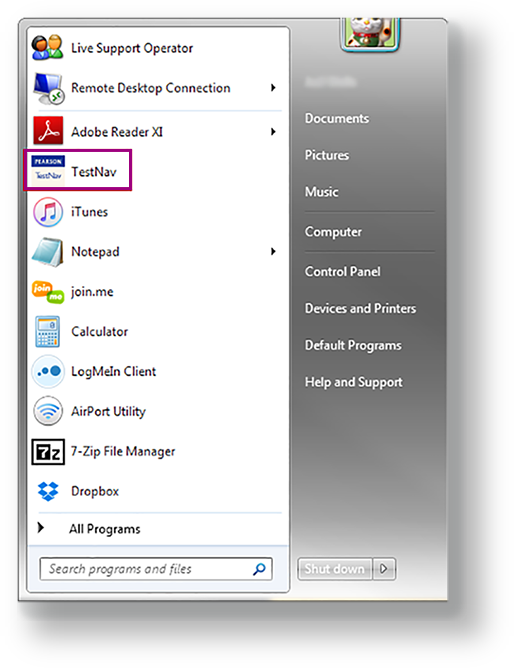
- If you have not already done so, choose the appropriate icon for your test on the home page. If your test was selected before the test session, you see the Sign In page, rather than the home page.
- If you need to select a different test, click the user drop-down menu at the upper-right of the page, and click Choose a different customer.
- Choose the appropriate icon for your test.
- Input your username and password on the Sign In page to begin your test.
...
| Anchor | ||||
|---|---|---|---|---|
|
...