Complete the setup using the sections below.
Install TestNav from the TestNav Download Page
TestNav program files are saved in C:\Program Files (x86)\TestNav.
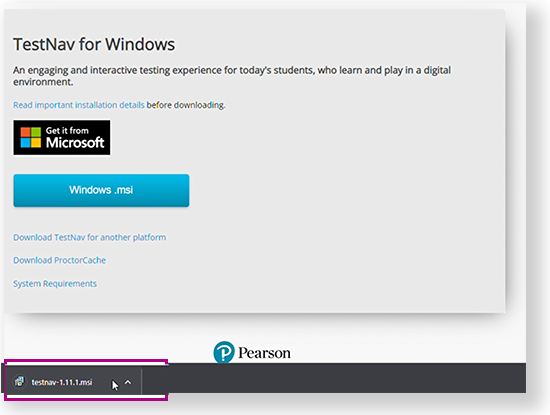
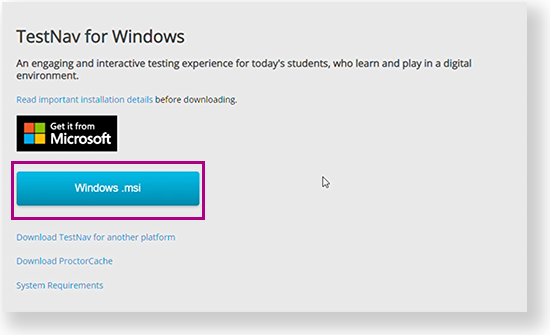
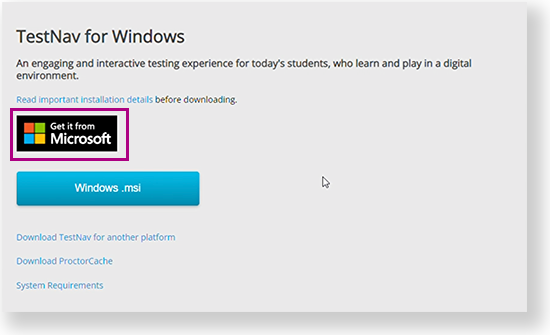
Go to the TestNav download page and click Windows.msi. You can also click the Microsoft Store button to download it from the store. See instructions below.
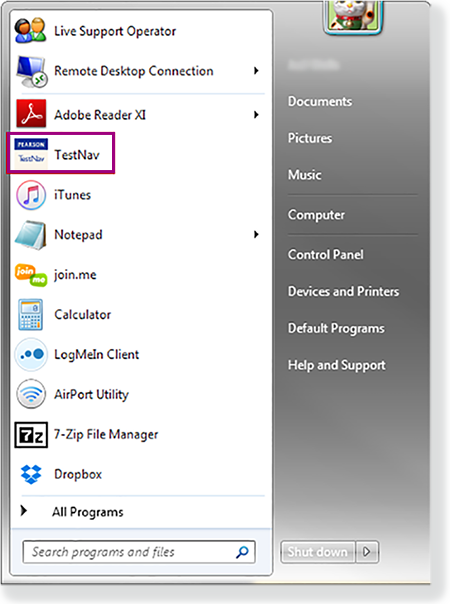
From the Start menu, click TestNav.
TestNav should appear in the Start menu. If you do not see TestNav, type TestNav in the search box.
| UI Text Box |
|---|
|
- Disable Cortana, XBox Game Bar, and clipboard history.
- If you use computer restoration or imaging software (for example, Deep Freeze), exclude the Pearson directory and the logs directory, as these contain student backup files and logs for troubleshooting.
|
Install TestNav from the Microsoft Store
Click the Microsoft Store button from the TestNav Download page or go to the Microsoft Store and search for TestNav.
Click Get (or Install, if you previously downloaded TestNav on the same device.)

- TestNav begins downloading.
TestNav App Updates
- If you downloaded TestNav from the TestNav Download page, program files for minor updates save in {user_home}\AppData\Local\Pearson.
- You must give students write access to the update directory.
- You must download major updates from the TestNav Download page.
- If you downloaded TestNav from the Windows Store, all major and minor updates occur automatically.
Run App Check
| Include Page |
|---|
| IR:_TN_AppCheck_Install_winmac |
|---|
| IR:_TN_AppCheck_Install_winmac |
|---|
|
Sign in to TestNav
| UI Text Box |
|---|
|
Instruct students to close all apps or programs running on their devices before starting a TestNav secure (high-stakes) test. |
If you have not already done so, choose the appropriate icon for your test on the home page. If your test was selected before the test session, you see the Sign In page, rather than the home page.
If you need to select a different test, click the user dropdown at the upper-right of the page, and click Choose a different customer.
| Include Page |
|---|
| IR:_TN_graphic_chooseCustomer |
|---|
| IR:_TN_graphic_chooseCustomer |
|---|
|
Click the appropriate icon for your test.
| Include Page |
|---|
| IR:_TN_graphic_installHome |
|---|
| IR:_TN_graphic_installHome |
|---|
|
- Start a test to ensure that you can do so without error.
- If you see a Practice Tests link on the Sign in page, click Practice Tests and start a test.
- If you do not see a Practice Tests link, use an authorization ticket from your assessment management system and start a test.
| Excerpt Include |
|---|
| Set Up TestNav on macOS |
|---|
| Set Up TestNav on macOS |
|---|
| nopanel | true |
|---|
|
Set Up Response File Backups
| Include Page |
|---|
| IR:_TN_DefaultSFTPrecommendInstallable |
|---|
| IR:_TN_DefaultSFTPrecommendInstallable |
|---|
|
| Include Page |
|---|
| IR:_TN_SRFandLogs_MacWinLin |
|---|
| IR:_TN_SRFandLogs_MacWinLin |
|---|
|
Default Primary Save Location
| Operating System | SRF Location | Log File Location |
|---|
| Windows | {USER.HOME}\Pearson\srf\ | {USER.HOME}\Pearson\logs\ |
|---|
Secondary Save Location
You can set a secondary save location through your assessment management system. Set a secure file transfer protocol (SFTP) address as the save location to ensure that the secondary save applies to all testing computers and devices.
| Include Page |
|---|
| IR:_TN_SRFandLogs_SecSave |
|---|
| IR:_TN_SRFandLogs_SecSave |
|---|
|
| Include Page |
|---|
| IR:_TN_InfrastructureTrial |
|---|
| IR:_TN_InfrastructureTrial |
|---|
|
| Include Page |
|---|
| IR:_TN_SRFandLogsRelatedInfoInstall |
|---|
| IR:_TN_SRFandLogsRelatedInfoInstall |
|---|
|