...
If you are creating user accounts for both training and operational sites, read the Related Information on Manage Users first.
There are two methods of creating and editing users.
Option - Import a File
You can import a user file to add new users or to update or replace existing users. This process is commonly done for additions or changes that involve multiple users as described in Import and Export Data.
Option - Enter Details Directly
You can enter user details for a new user or edit the details of an existing user directly within the system.
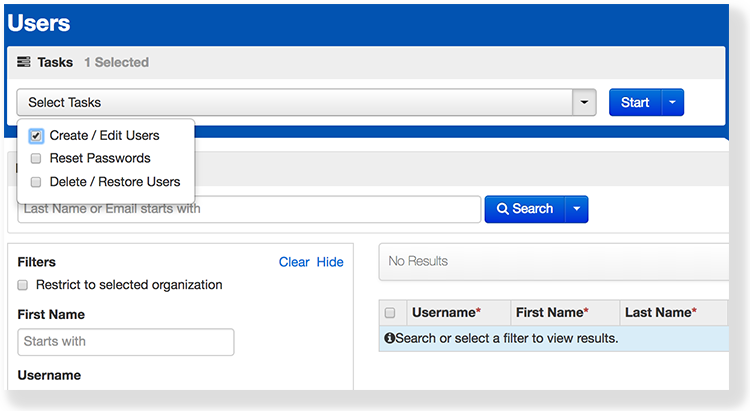
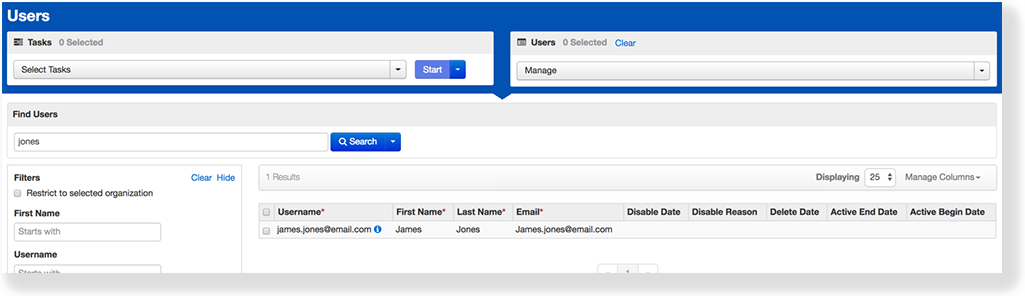
From Setup > Users, search to find the user(s) you want to edit, or click the down arrow next to the Search button, and click show all results. Select the user(s) you want to edit. If you want to create a user, this step is unnecessary.
...
| title | Click here to view a screenshot... |
|---|
...
Open the task list and select Create / Edit Users and click Start.
...
| title | Click here to view a screenshot... |
|---|
...
| Info |
|---|
You can specify the dates on which the account begins to have access to the system and when the account no longer has access to the system.
|
...
If you are editing, select a user from the list at the left of the page. Enter or make changes to the user information and click Save. If you are creating, select Create Users. Enter the user information and click Create.
...
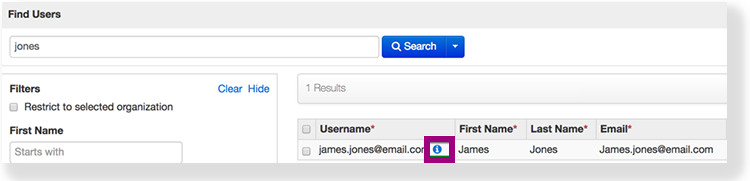
To see more detailed information about the user, click Show User Details.
To see when changes were made to a user account and who made them, click Show Audit Trail.
...
| title | Click here to view screenshots... |
|---|
...
| Panel |
|---|
|
Related Information
...
You can create a user to add an account holder by entering personal and system-related information. For example, you can enter a user ID and email address, and assign this user to an organization. When you assign the user to an organization, you define the data he or she can access.
You can also specify a date range for account access. Doing so ensures that the user can log in only during the specified date range.
To learn about user account data fields, see User Account Data Fields.
Step-by-Step
- From Setup, select Users.
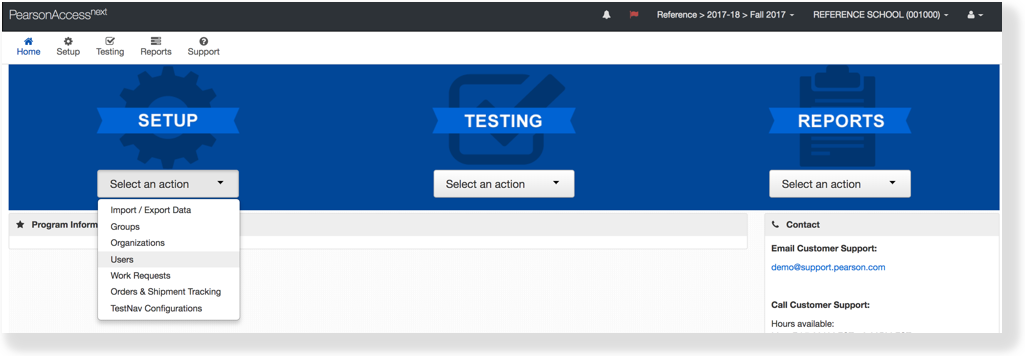
Click Select Tasks, select Create / Edit Users, and click Start.
Type/Select the user information.
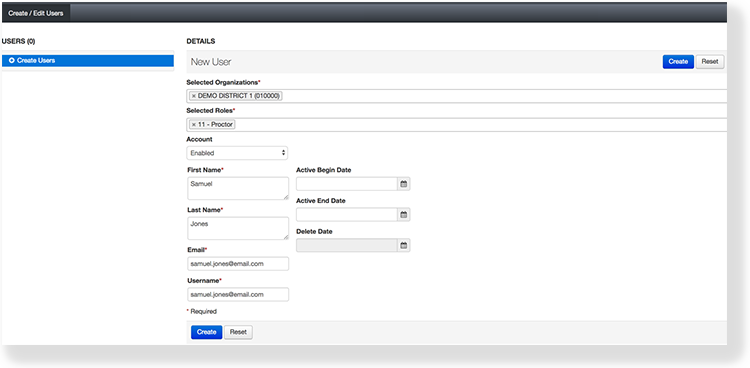
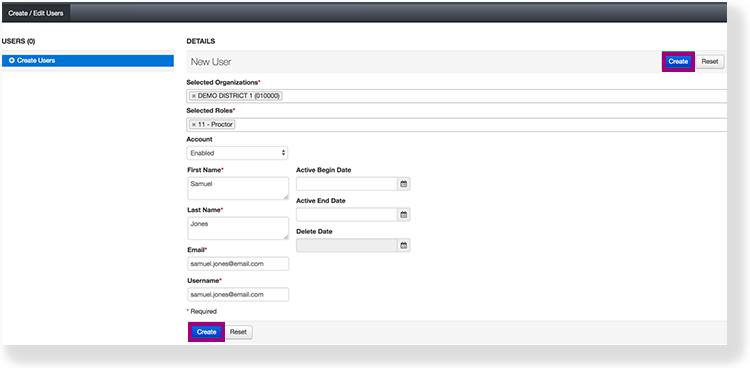
Click Create.
Effects
After you create a user, you can view user account information.
| Expand | ||
|---|---|---|
| ||
|
|
...
|
...
|
...
|
...
|
What's Next?
| Expand | |
|---|---|
|
...
|
...
...
The email you entered automatically populates in the Username field. To change the username, delete the user's email from the Username field and enter the desired username before you click Create. |
After you create an account, the system sends an email to the new user. If the email is returned, undelivered, the system displays an email delivery failure.