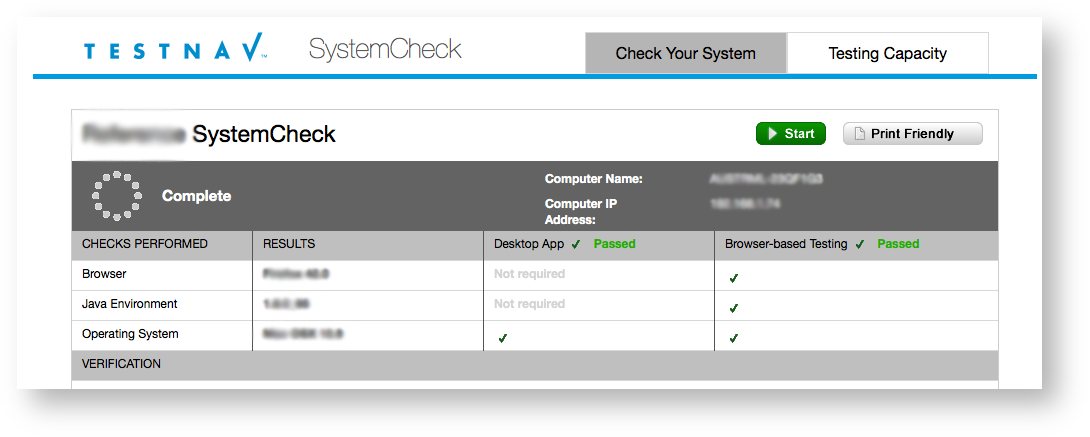
See your program support page for the link to start SystemCheck. Go to the SystemCheck website, and follow the instructions for each of the following processes:
 

  1. Select your program from the drop-down menu.
  2. Click Start.
  3. Click the Check Your System tab, and click Start.
    1. Passing systems display a green checkmark and All Checks Passed at the top of the screen.
    2. Failing systems display a red x next to the failing component.
  4. To print the results or save a PDF, click Print Friendly.

After you check your system:

  1. Click the Testing Capacity tab, and click Start.
    1. The fields display any proctor caching computers you have designated, test progress, download speed, and estimated testing capacity.
  2. You can add, edit, or delete proctor caching computers using the instructions for each below.

Remember, if you are using ProctorCache, you must install it and run it on the proctor caching computer before you can check its connection speed and how many testing computers it can handle.

  1. Click the Testing Capacity tab.
  2.  Click + Add Caching Computer, enter the details, and then click Save.
    1. Display Name – appears as the computer name in the Server/Computer column
    2. Host – the IP address of the ProctorCache machine
    3. Port the port on which the caching computer is running.
  1. Click the Testing Capacity tab.
  2. Click the computer name.
  3. Edit the host name or port, and then click Save
  1. Click the Testing Capacity tab.
  2. Click the computer you want to delete.
  3. Click Delete Caching Computer, and then click Continue.