Administration Cards
An administration card appears on the Administrations page for each scheduled administration. The admin card shows information about the administration and allows you to perform certain actions. Your role permissions determine whether you can see admin cards and what actions you can perform.
Find Administrations
- Go to Test Management > Administrations.
- In the top bar, you can choose to view Current or Past administrations. You can also change from the Card view to the compact List view.
- In the Search box, you can search for an administration by name.
- Use the Filter button to filter the administration list by program, test, student information, or test code.
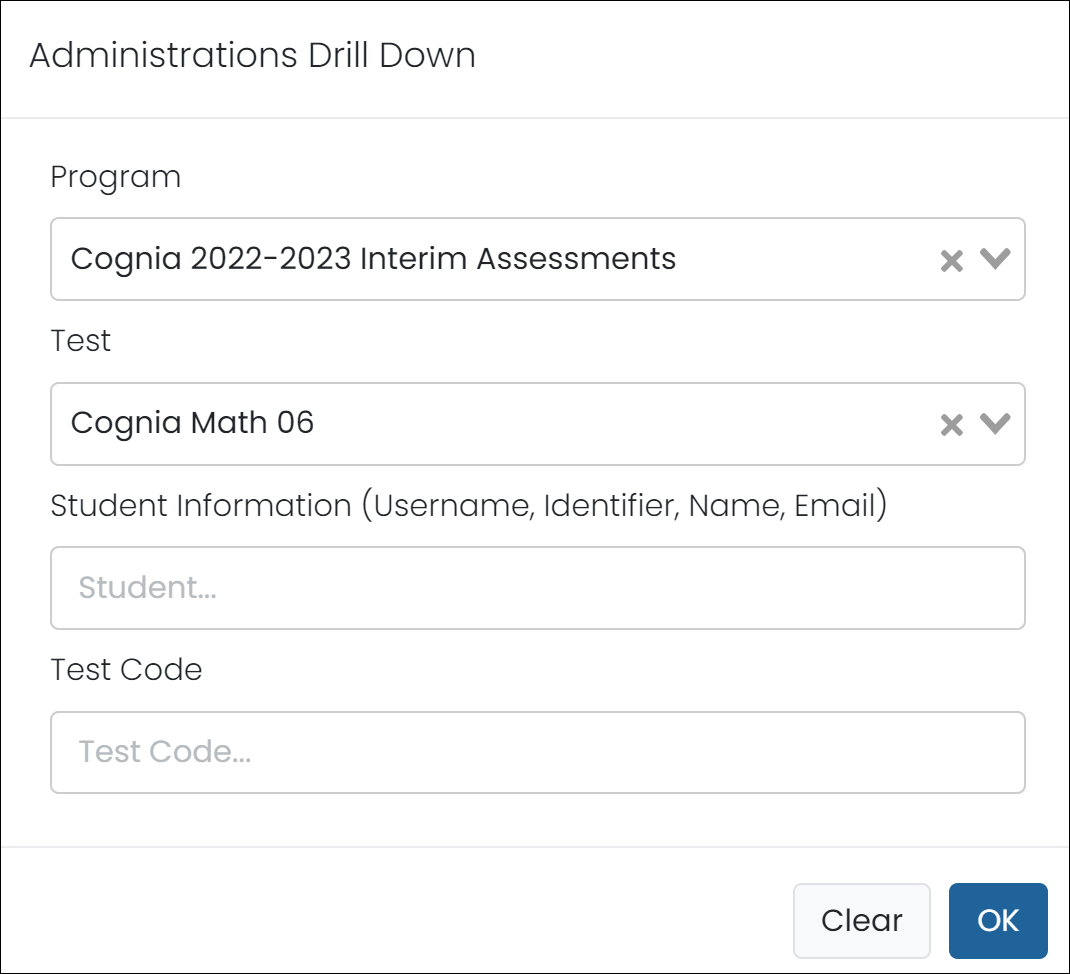
- Use the Sort by dropdown to sort by date created, start date, or end date.
Tip: In the list view, you can access the same actions as the card view (from the more menu).
Admin Card Overview
Available actions will vary considerable based on user permissions and the type of assessment.
From the more menu (![]() ) in the top right corner of the Administration card, designated users can:
) in the top right corner of the Administration card, designated users can:
- Scan New Students: Perform a scan to update the students in the administration to maintain an accurate roster. See the Refresh Students after Adjusting Classes or Adding New Students page. Scanning automatically happens every 30 minutes. To optimize site performance, rescan a student rather than the entire administration if applicable, and only if needed within the next 30 minutes.
- Rebalance Administration: Rebalance spiral forms after the test is created. If changes occur to students or forms, this allows you to return to the desired percentage split.
- History: View a history of rescans for new students. The log shows the scan date, students added and removed, and the number of updated accommodations, multiple enrollment alerts, and students who have made the maximum number of test attempts.
- Disable: Stop the ability for students to start any new sessions in the administration. The Disabled status label will appear on the admin card.
- Rescore Admin: Rescore the administration. This may need to be done, for example, if an answer key was wrong and had to be changed. Do not use this feature with TestNav tests.
- Edit: Edit the administration details, such as the administration name and test dates.
- Delete: Delete a test that is Inactive. You cannot delete an Active test.
- Print paper form: Print a paper version of the test. This link is available only if a PDF form is attached to the test form (there may be multiple PDFs to print for some tests). See Managing Forms.
- Start Pre-ID Order: Start a pre-ID order for selected students. After initiating the order, it will appear in Orders > Manage Orders.
Under Students menu (![]() ), perform the following actions:
), perform the following actions:
- View: View the students assigned to the administration. From here, you can apply accountability codes and remove students from the administration.
- Export: Export the list of students in the administration, including student and teacher information, the proctor group, the test code, etc.
- Print Cards: Open the student test card (or "ticket") page. From here, you can arrange and print the student cards. Each card contains the information, such as the Test Code, that the student needs to start the test. See Printing Rosters and Student Test Tickets.
Under Proctor Groups menu (![]() ), perform the following actions:
), perform the following actions:
- View: View the list of proctor groups. From here, you can create an alias proctor group, upload an alias proctor group, perform a late add to a proctor group, and open the Proctor Dashboard.
- Export: Export the list proctors, including the Test Code and Proctor Password.
- Print Cards: Open the Proctor Group Creation Login Card page. From here, you can display and print multiple copies. Each card contains the Test Code and Proctor Password. These should only be used if proctors will be creating groups 'on the fly' to generate their own code per testing room. If proctor groups are pre-created, do not use (the proctor codes will be on the roster that is printed with the test codes.) See Proctoring a Test.
Alerts
The Alerts icon appears if there are issues that need to be resolved for the administration.
Eligibility Criteria Administration
The Eligibility Criteria Admin icon indicates that the administration is populated based on student eligibility criteria, rather than class-based criteria.
For more information, see Create an Administration.