-
Created by
 user-2df23, last updated by user-760ba on Dec 17, 2025
3 minute read
user-2df23, last updated by user-760ba on Dec 17, 2025
3 minute read
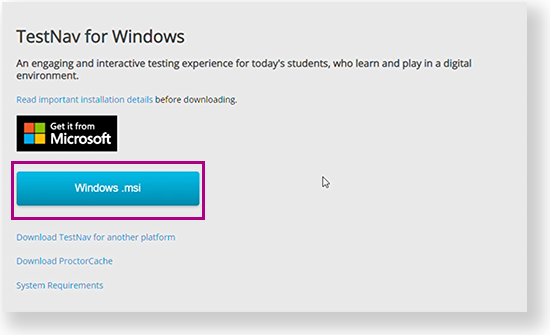
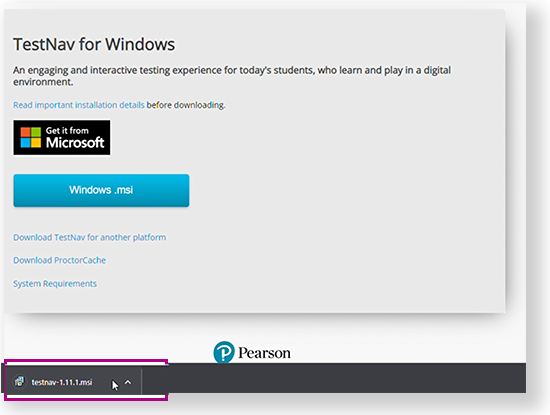
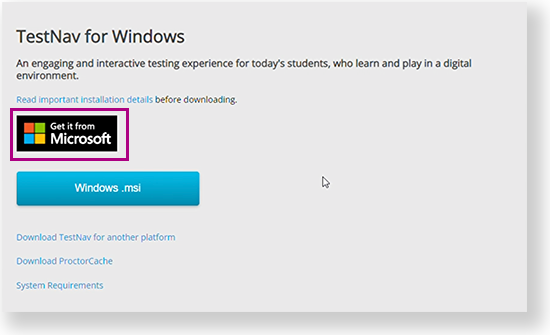
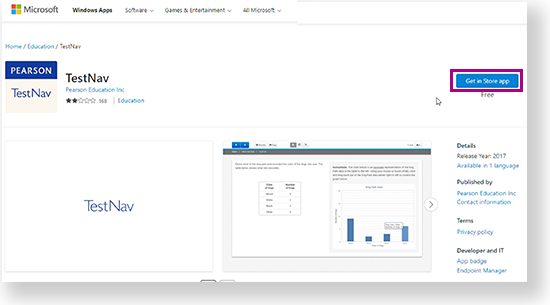
Complete the setup using the sections below. TestNav program files are saved in C:\Program Files\TestNav. Go to the TestNav download page and click Windows.msi. To download it from the Microsoft Store, see Install TestNav from the Microsoft Store. The file download appears at the bottom of the window as it downloads. After TestNav is configured for your device, you can type TestNav in the search field to find it. A TestNav shortcut might also appear on your desktop or in the Start menu, as shown in the example below. Click the Microsoft Store button from the TestNav Download page or go to the Microsoft Store and search for TestNav. Click Get in Store app (or Install, if you previously downloaded TestNav on the same device.)Install TestNav from the TestNav Download Page
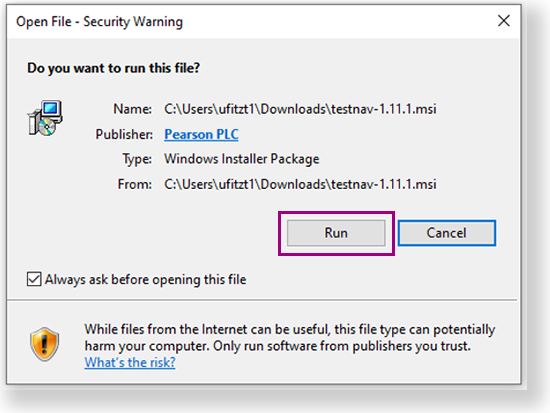
Depending on your organization, a prompt for higher-level access might appear.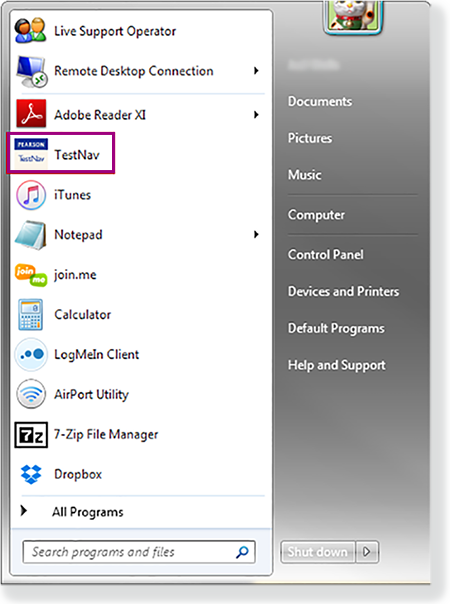
Install TestNav from the Microsoft Store
TestNav App Updates
Student Response File Setup
When a student responds to a test question, TestNav sends the response to the Pearson server. If the network experiences a connectivity issue, or the student encounters an error, TestNav saves the response to a saved response file (SRF). For configuration details, see: Set Up and Find Saved Response Files (SRF).
Run App Check
It is essential to run the App Check on each student device before testing. For details, see App Check.
Sign in to TestNav
Instruct students to close all apps or programs running on their devices before starting a TestNav secure (high-stakes) test.
- If you have not already done so, choose the appropriate icon for your test on the home page. If your test was selected before the test session, you see the Sign In page, rather than the home page.
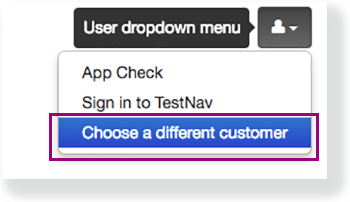
If you need to select a different test, click the user dropdown at the upper-right of the page, and click Choose a different customer.
Click the appropriate icon for your test.

- Start a test to ensure that you can do so without error.
- If you see a Practice Tests link on the Sign in page, click Practice Tests and start a test.
- If you do not see a Practice Tests link, use an authorization ticket from your assessment management system and start a test.
- If a Settings page appears, make any necessary selections, click Select, and then Start.


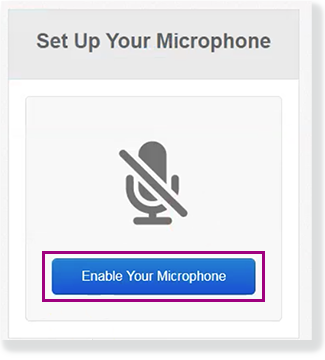
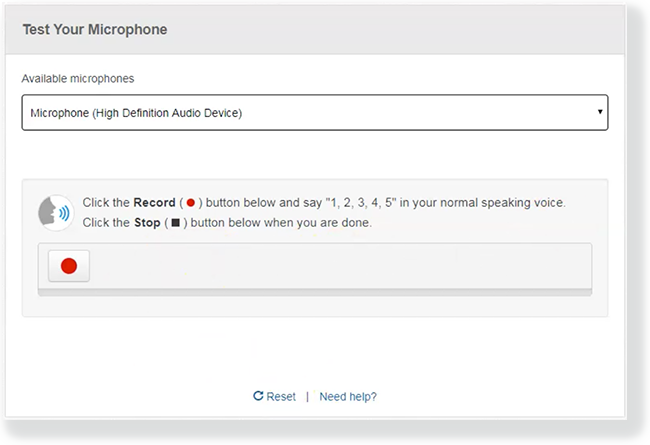
- If the test requires audio, click Enable Your Microphone to set it up. Follow instructions to on the Test Your Microphone window to select an available microphone, record audio, and play it back.
- Click Sounds Good to continue to the test items.
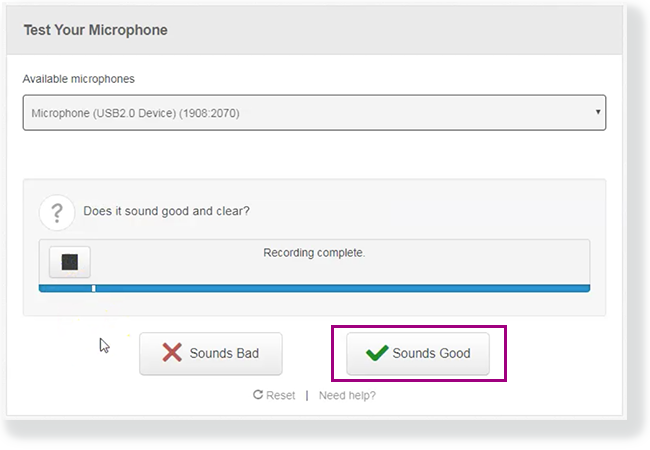
- Click Sounds Bad > Reset to start microphone selection and test again.
Clicking Need help? prompts you (or the student) to raise a hand for teacher assistance.
- Click Sounds Bad > Reset to start microphone selection and test again.


Run an Infrastructure Trial
Pearson strongly recommends running an infrastructure trial to verify the technology setup is complete and to familiarize teachers and students with the test. Use your training site through your assessment management system to complete the trial before the actual test day.