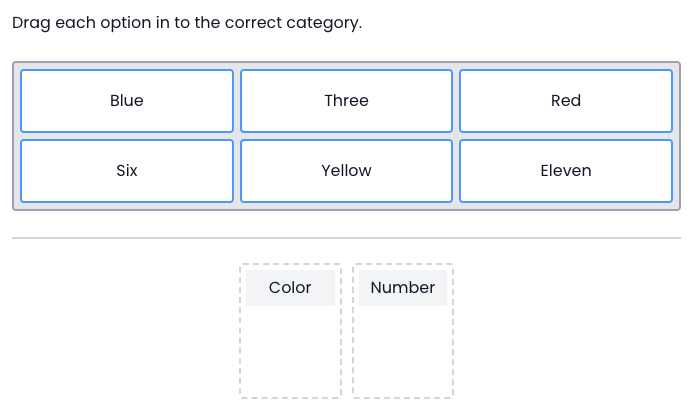
Use the Basic Match interaction to create drag and drop items with drop bays. Use this item type for classifying and sorting into groups. Large art (e.g. graphs, diagrams) should be avoided in 'draggers' because it becomes difficult for the student to determine how to drop the draggers into the gaps.
See Author Test Items and Choice Interaction for general instruction on item creation.
- From the Editor tab, select Add Interaction > Match & Order > Basic Match.
- Under , enter details for Rows and Columns. You can add and delete choices as needed.
- Rows: Enter answer choices that students will drag and drop.
- Columns: Enter labels for each drop bay where students will place the answer choices.
- Enter a value in Max Match for each answer choice and drop bay.
-
- Columns: The Max Match value indicates how many answer choices can be placed inside the drop bay.
- Restrict Match Group: Enables restriction of which choices can be matched with which targets by assigning them to groups.
- In the Settings areas, use the Choice Position to indicate the location of the choices in relation to the bays.
- Max column indicates how many columns may be used to display the choices.
- Grip Style: Optionally, add one of several 'grippers' to each choice to more clearly indicate this object may be dragged.
- Choices Width (in px) and Target Width (in px) can be used to override auto-sizing.
- For Min Associations, indicate how many selections the student needs to make in order for the item to be counted as attempted, if applicable.
- Shuffle: Select to scramble the choices. For the item analysis reports, the order of choices in the item setup are reflected for all students. Do not use if the order matters.
- Under Scoring Settings, enter choices as described in the next section.
- Under Correct Response, drag and drop the answer choices into the correct drop bay(s) to set the scoring key.
- Enter Properties. See also Item Properties.
- Select Save.
Scoring Settings
When using Partial Scoring, enter a point value in the Points column for each answer choice. See also: Set Up Partial Scoring.

Tiny Link: https://support.assessment.pearson.com/x/d4D8Bg