Reporting Groups
You can create and manage a reporting group that consists of either:
- All tests assigned to a student for an administration.
- Student tests that contain single or multiple subject tests.
You can also assign users to your reporting groups or delete a reporting group to remove test data for completed test administrations.
Pearson recommends that you create reporting groups through a file import; however, you can manually create a reporting group through two different methods using the user interface (UI).
Step-by-Step
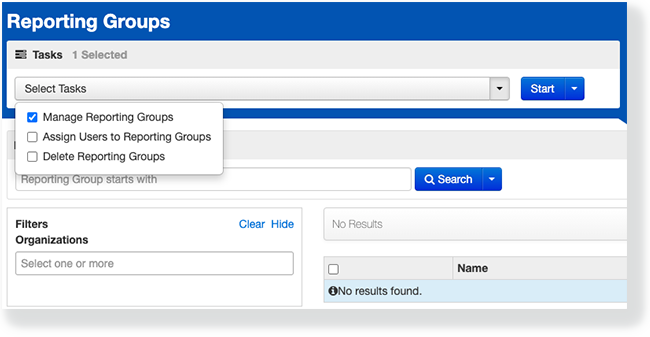
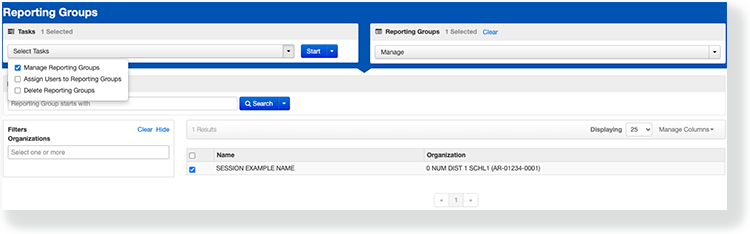
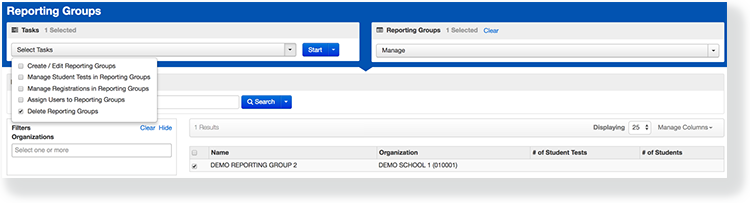
- From Reports, select Reporting Groups.

Click Select Tasks, select Manage Reporting Groups, and click Start.
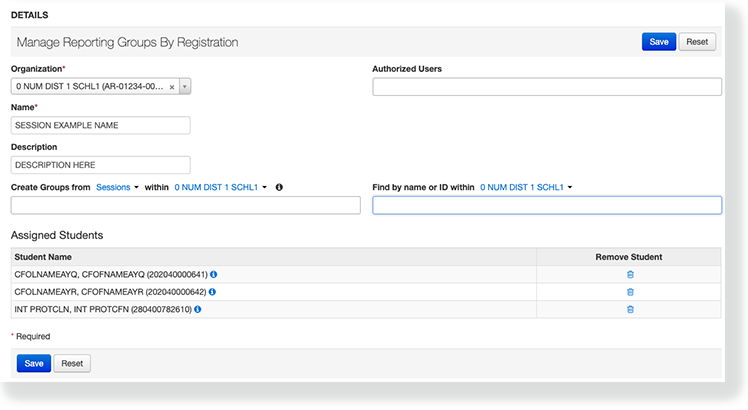
- Type or select details.
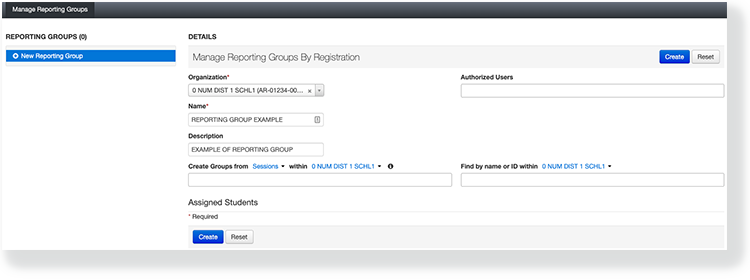
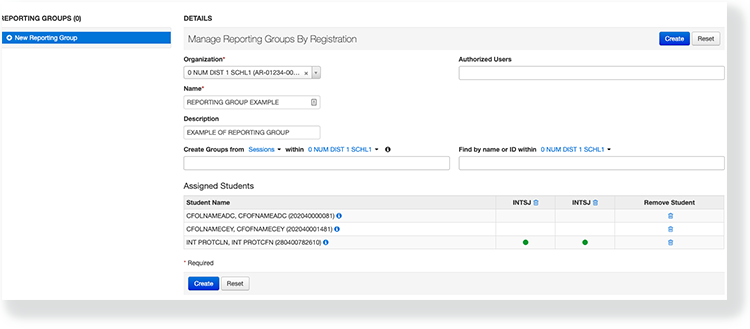
You can add students to a reporting group by adding a whole session or group/class, or by adding students individually by name or ID.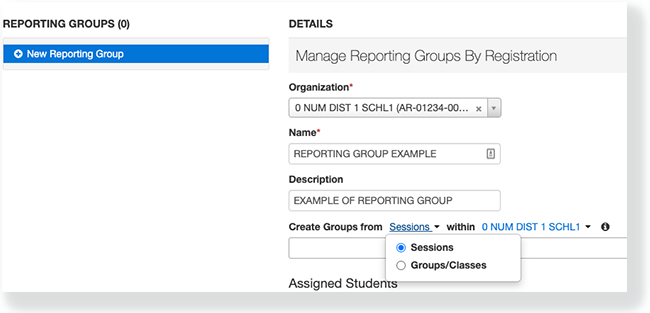
- Click Create.
Create a Reporting Group By Session
- From Testing, select Sessions.
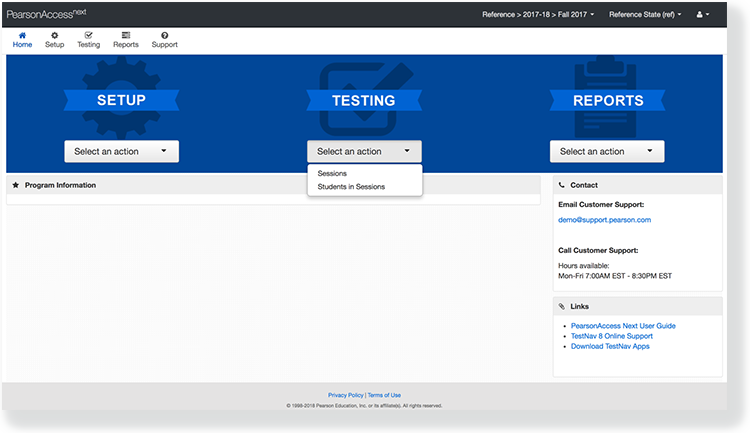
Click Select Tasks, select Create Reporting Groups, and click Start.
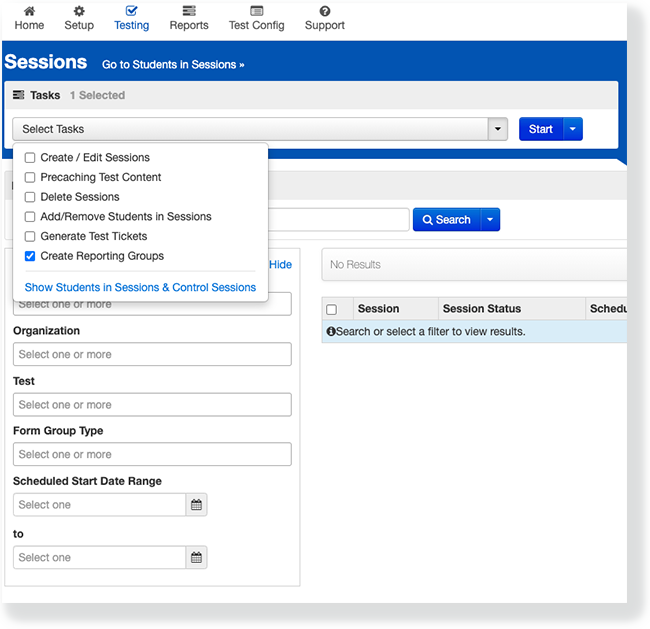
- Type or select details.
- Click Create.
Update a Reporting Group
- From Reports, select Reporting Groups.
Type the group name into the search field, and click Search. Or, from the Search dropdown, select Show all results.

Click Select Tasks, select Manage Reporting Groups, and click Start.
Update the necessary details.

- Click Save.
What's Next?
After you create a reporting group, you can assign additional users to limit who can access the reporting group.
You can assign users to a reporting group so they can view group reports for either student registrations or student tests, depending on your program's requirements.
Pearson recommends that you assign users through a file import; however, you can also assign users through UI data fields.
Prerequisites
You must create a reporting group before you assign a user to it.
Step-by-Step
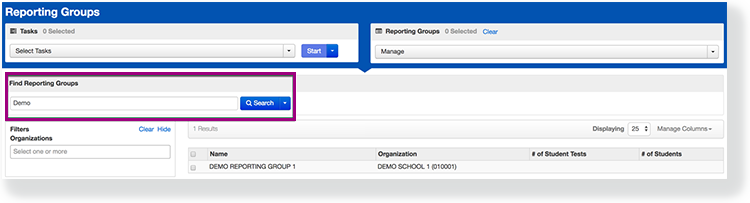
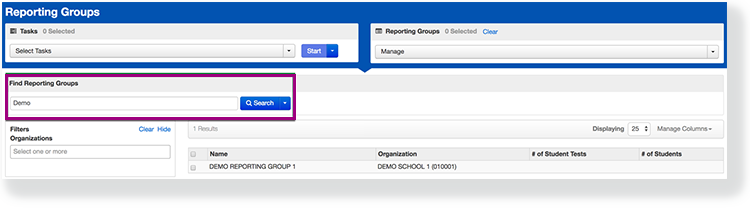
From Reports, select Reporting Groups.

Type into the search field a reporting group, and click Search.
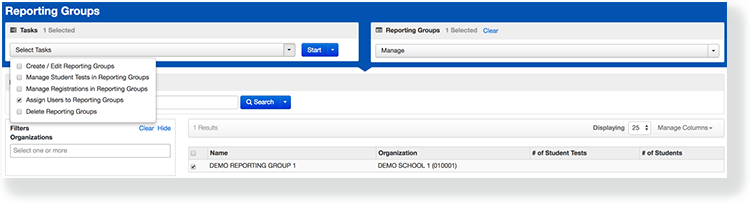
Click the checkbox next to the group.

Click Select Tasks, select Assign Users to Reporting Groups, and click Start.
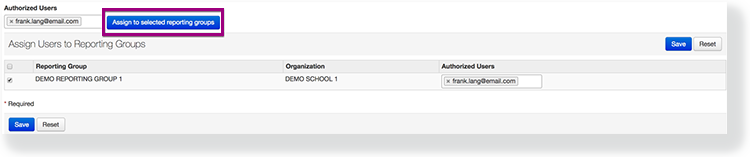
Click the checkbox next to the reporting group.
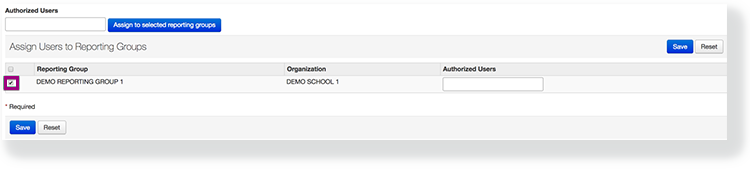
Type a user name into the Authorized Users search field.
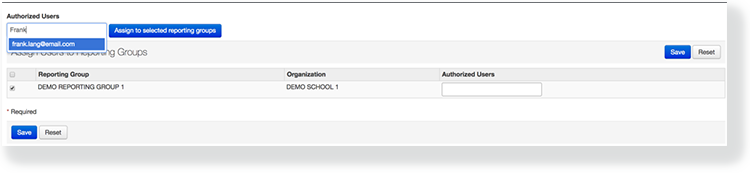
Click Assign to selected reporting groups.
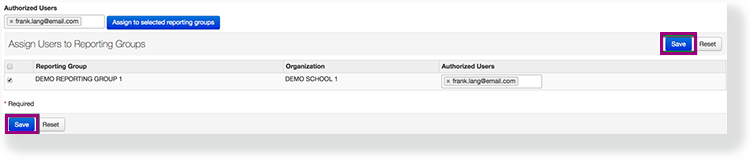
Click Save.
Repeat steps 1 and 2, above, and then:
3. Click the checkbox next to the reporting groups.
4. Type a user's name into the Authorized Users search field, and click Assign to selected reporting groups.
5. Click the checkbox next to the reporting groups.
6. Click Save.
What's Next? (Optional)
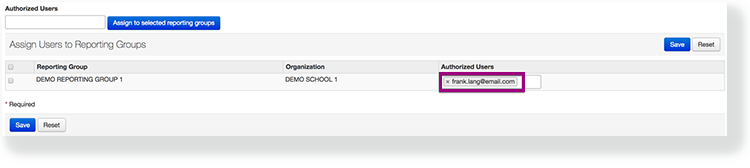
You can remove a previously assigned user from a group by clicking the X next to the user's name, and clicking Save.
You can delete a reporting group to remove test data for completed test administrations.
Prerequisites
Before you delete a reporting group, you must first remove all student test assignments and registrations associated with the reporting group.
Step-by-Step
From Reports, select Reporting Groups.

Type into the search field a reporting group, and click Search.
Click the checkbox next to the group.

Click SelectTasks, select Delete Reporting Groups, and click Start.
Click the checkbox next to the reporting group you want to delete.

Click Delete.
