Page tree

Versions Compared

Key

  • This line was added.
  • This line was removed.
  • Formatting was changed.

AnchorTOPTOP AnchorRIRI
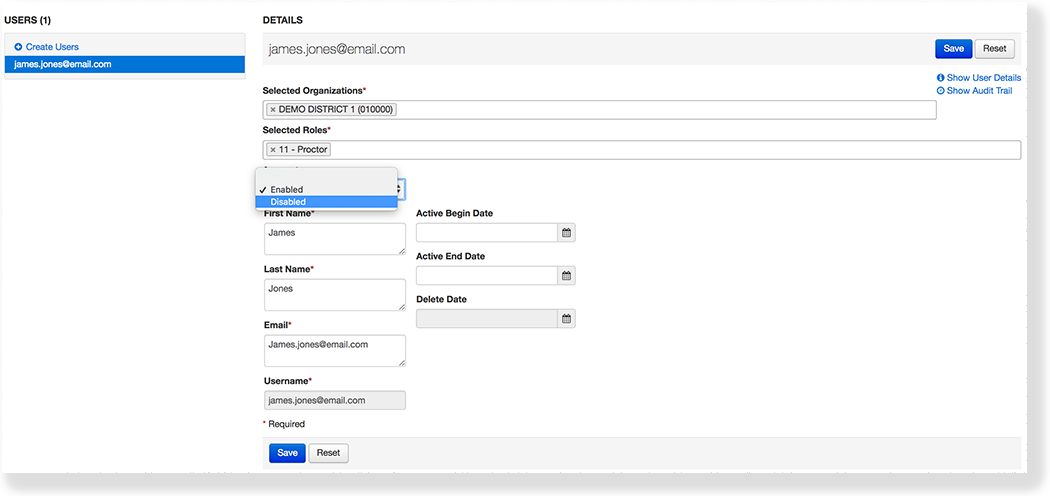
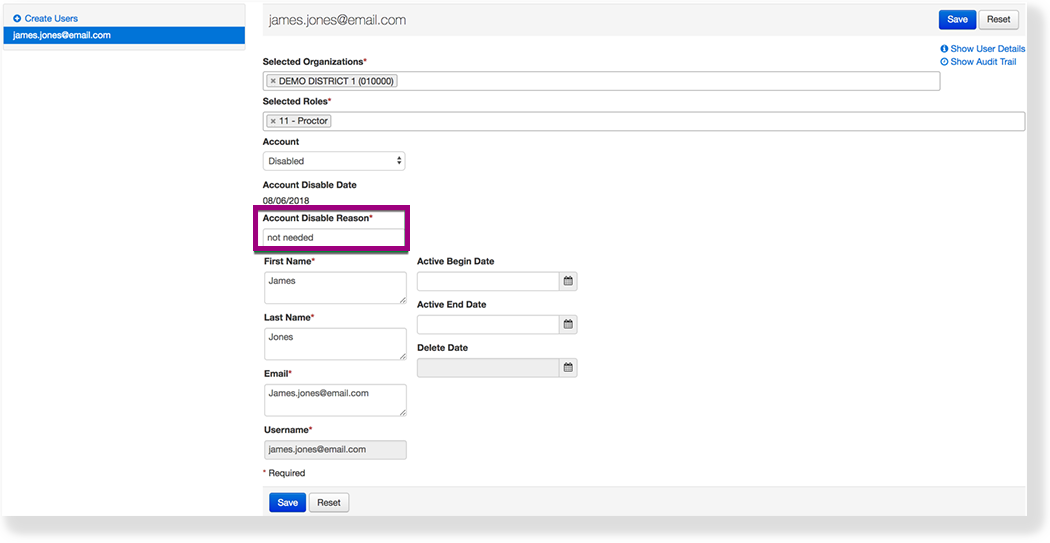
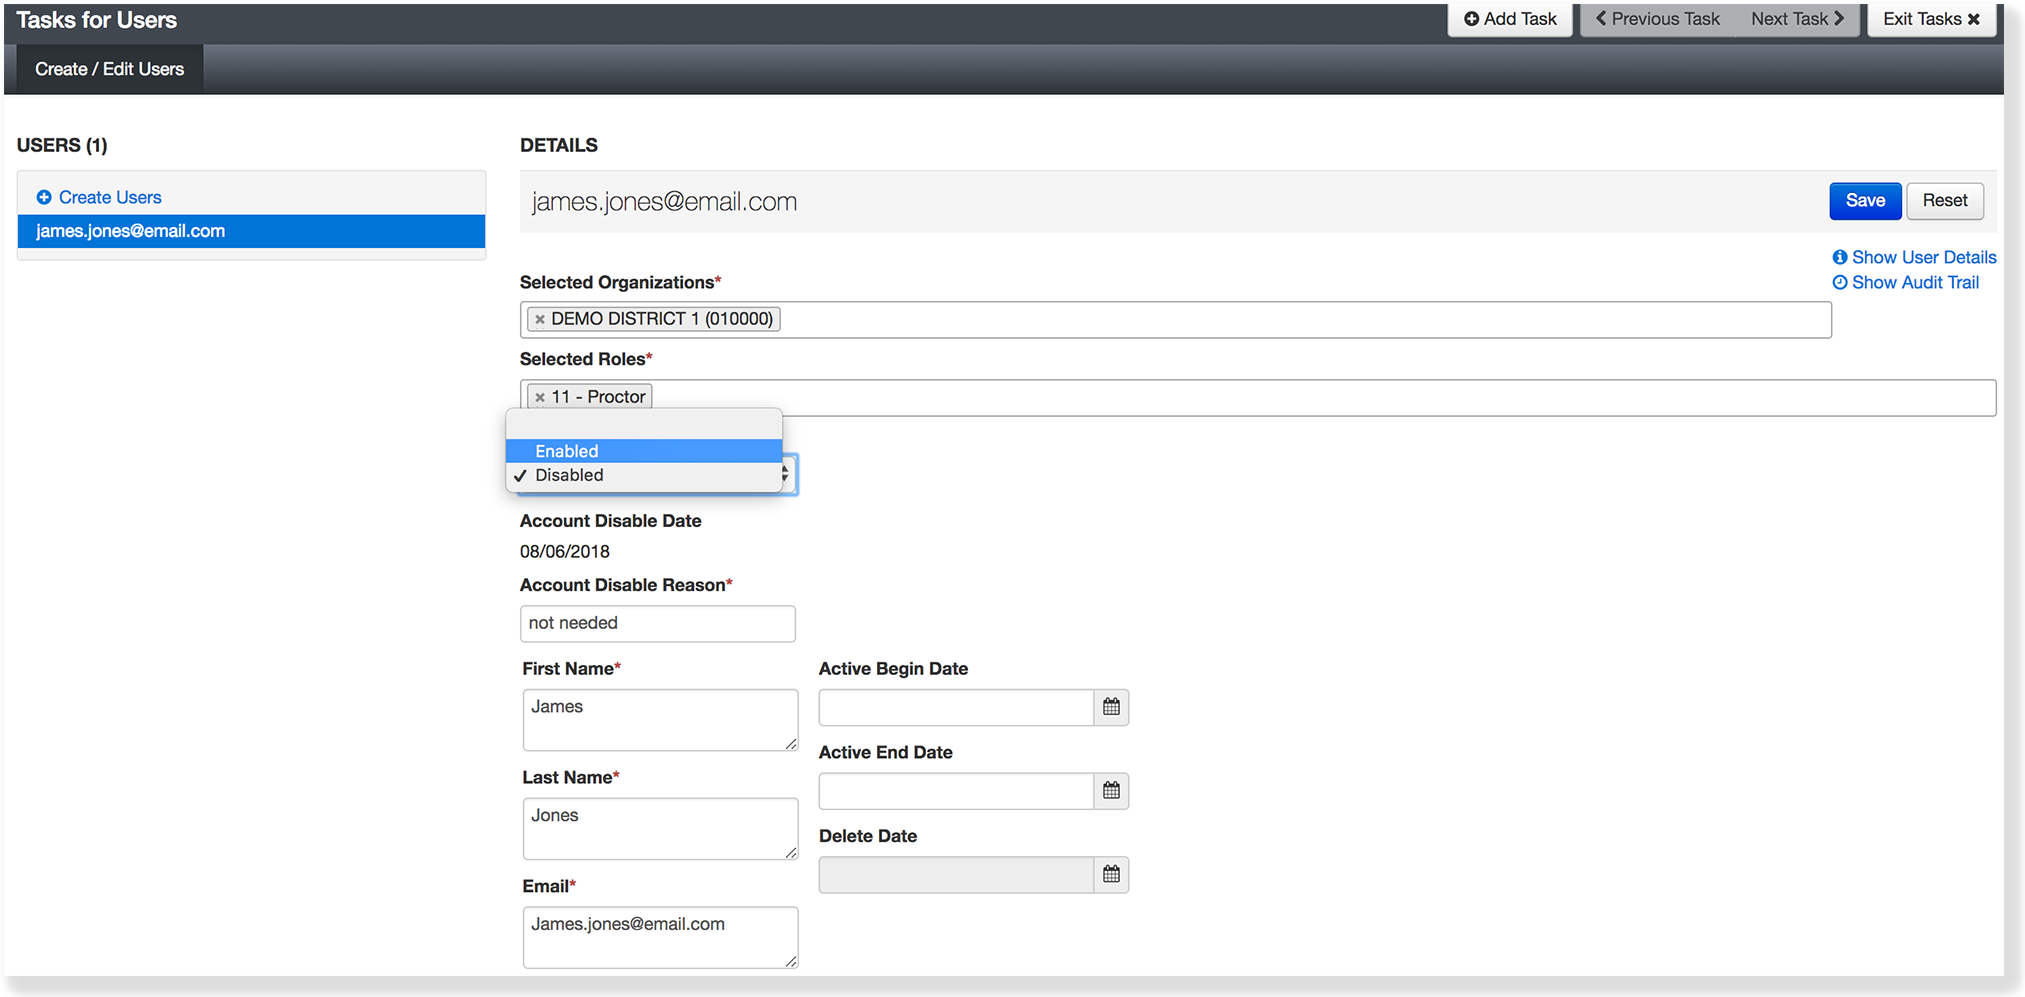
You can disable an account when the account holder's access to the system is temporarily restricted. Depending on your program and organization's policies these criteria will vary. 

Only an authorized user can re-enable a previously disabled user account.
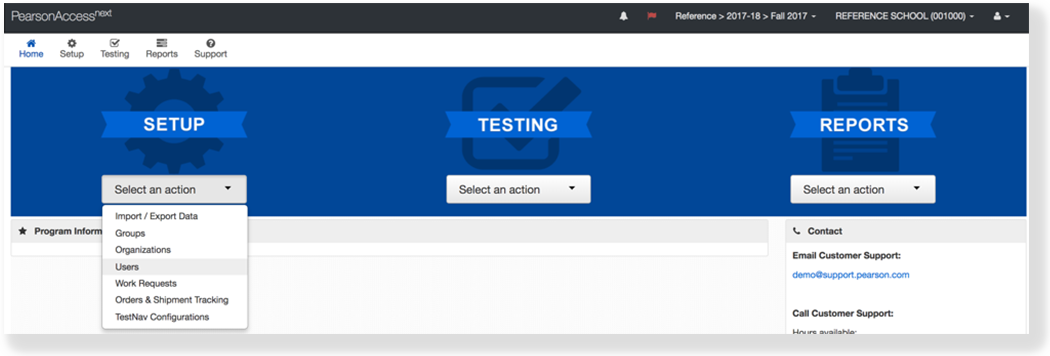
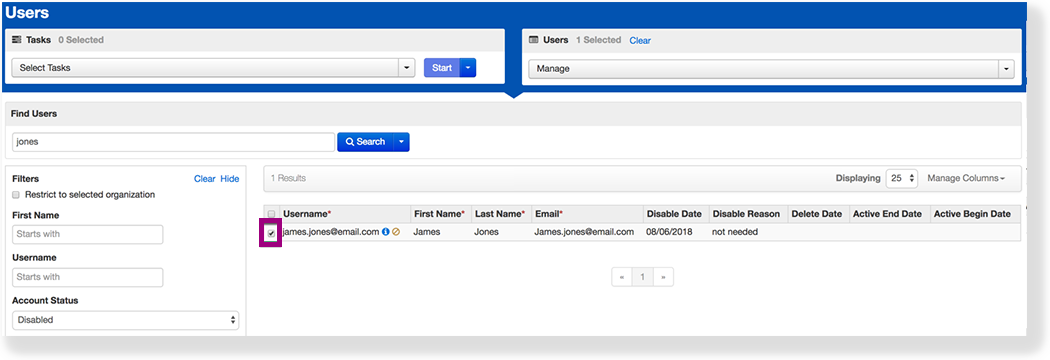
AnchorInstructionsInstructions


Effects

Step-by-Step

UI Text Box
sizemedium

Image Removed

(Click Image Removedto view image)
  1. From Setup,select Users.

Image Removed
  1. Image Added


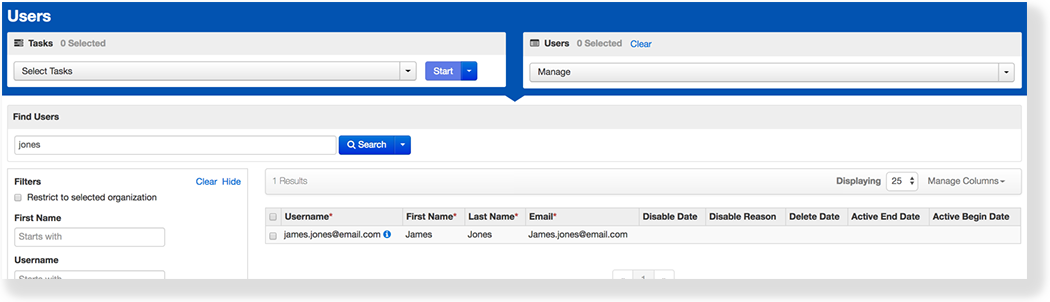
  2. Type the user's name into the search field, and click Search.

Image Removed
  1. Image Added


  2. Click the checkbox next to the student.
Image Removed

  1. Image Added
  2. Click Select Task, select Create / Edit Users, and click Start.
Image Removed

  1. Image Added
  2. Select Disabled under Account Disable Reason to change the account status.

Image Removed
  1. Image Added


  2. Type a reason under Account Disable Reason.
Image Removed

  1. Image Added
  2. Click Save.
Image Removed

Anchor
  1. Image Added

Effects

Effects

UI Text Box
typeinfo
What’s Next?What’s Next? UI Text Box
typetip

After you disable a user account, that user cannot log in to the system.

Anchor

What's Next?

After you disable user accounts, you can:

Expand
titleView and/or re-enable deleted user accounts...
  1. From Setup, select Users.
  2. Select Disabled from the Account Status filter and view disabled user accounts.

    1. To re-enable an account, click the checkbox next to the user account.
Image Removed
    1. Image Added
    2. Click Select Task, select Create / Edit Users,and click Start.
Image Removed
    1. Image Added
    2. Select Enabled under Account to change the account status.
Image Removed
    1. Image Added

    2. Click Save.

Image RemovedBack to the top