...
Pearson recommends proctor caching for all online tests. A caching computer downloads and stores test data, such as multimedia files or test questions, and then serves that data to individual test computers from within the local network. This enables faster test page loading times and more efficient test taking.
...
Create TestNav configurations to identify the computer(s) for caching. These tasks are a prerequisite to online testing,
...
if you use ProctorCache.
You must complete these tasks only once per test administration. unless you require a change.
If you require a change, you can complete it at any later date.
Prerequisites
| Expand | ||
|---|---|---|
|
...
| |
|
...
|
...
|
Create Configuration
Do this BEFORE you create any test sessions. Later, while you are creating your test sessions, you will select the named configuration that you create here to be used for each test session.
...
Step-by-Step
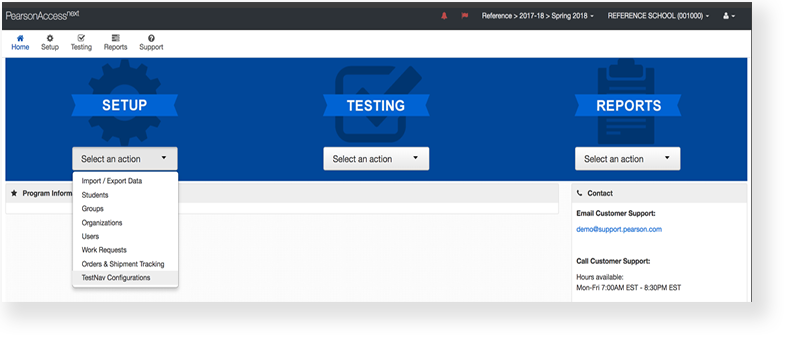
From Setup,select TestNav Configurations.
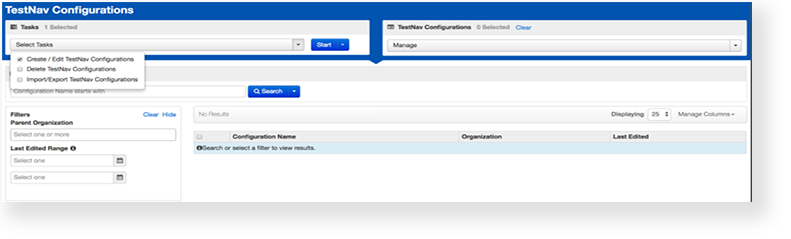
Click Select Tasks, select Create
...
/ Edit TestNav Configurations, and click Start.
| Expand | ||
|---|---|---|
| ||
...
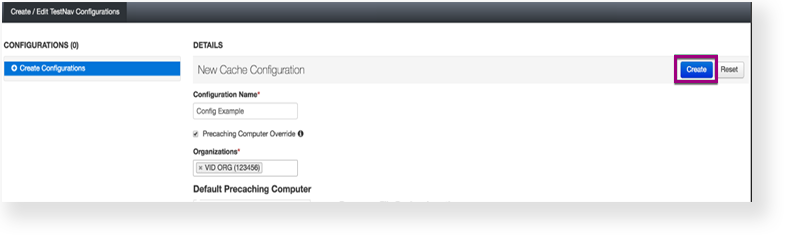
Enter the details of any proctor-caching computers
...
to use them for precaching tests.

Select Precaching Computer Override to avoid interruption during testing. For more information about
...
Response File Backup Locations, see Configure Response File Backup Locations.
...
Click Create.
What's Next?
| Expand | |
|---|---|
|
...
Click Test Connection to make sure the configuration works.
| ||
Test content does not automatically download and precache; you must do so manually. |
Optional
You or another user can create a session with the TestNav configuration.
| Expand | ||
|---|---|---|
| ||
Generally users add multiple caching computers in larger schools, with larger numbers of concurrent testers. |
| Expand | ||
|---|---|---|
| ||
Check if:
|
...
If the connection is not successful:
...
|
...
|
...
|
...
|
...
Click Create.
Optionally, additional proctor caching computers can be added to the configuration. This is generally done in larger schools where testing may involve multiple grades and forms and larger numbers of concurrent testers. In cases like this, a second caching computer and the additional throughput it provides may be beneficial.
| Warning |
|---|
If you only perform the configuration step, test content is not yet downloaded and precached. Precaching is not performed automatically, but something you must perform manually. |
...
Precache Content
...
|
...
|
...
| Expand | ||
|---|---|---|
| ||
...
Open the task list and select Precaching Test Content. Click Start.
| Expand | ||
|---|---|---|
| ||
...
Click Precache. You can also click View Status at any time to view caching status. If content is not appearing when precaching and there are no students in the session, add students to the test session and try again.
| Expand | ||
|---|---|---|
| ||
...
An information screen will appear to let you know that caching is in progress and the parameters being used. At the same time, the ProctorCache application will open. From that application you can view caching progress. See Use ProctorCache for directions.
| Expand | ||
|---|---|---|
| ||
The screen indicates that precaching has started. The ProctorCache screen gives you access to information about cache status. See Use ProctorCache for more details. |
To refresh cached content, use the instructions in Manage Cached Content for Online Test Sessions.
...