...
Run SystemCheck on every testing computer to plan for capacity during your test administration setup. SystemCheck checks the computer's testing capacity when you click each tab:
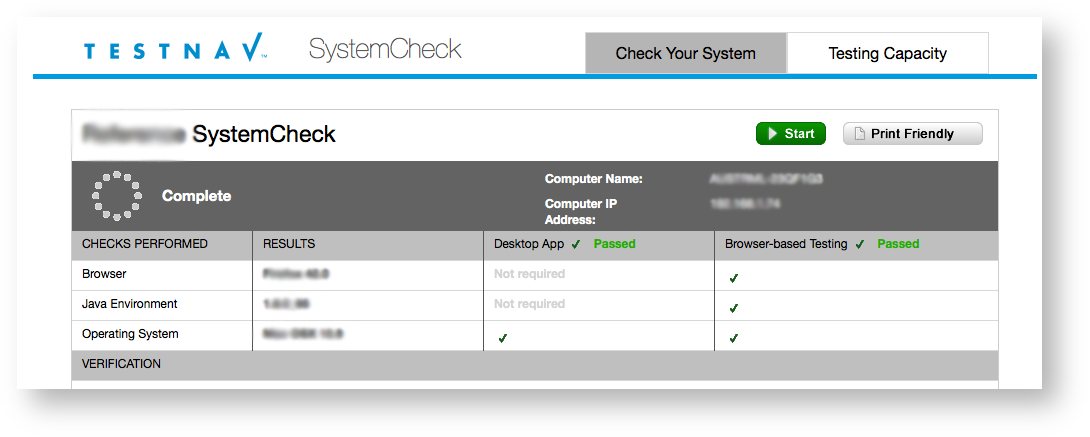
- Check Your System - This checks the computer in a testing lab to verify supported operating systems, browsers, and Java versions are installed. Only check your system after you have reviewed and implemented hardware and software requirements.
- Testing capacity - This checks data transfer speeds and provides an estimated number of concurrent testers that the testing environment can support in real time.
If you are using ProctorCache, you must install it and run it on the proctor caching computer before you can check its connection speed and how many testing computers it can handle. You can add multiple proctor caching computers or delete a proctor caching computer through SystemCheck (instructions below).
When you configure multiple proctor caching computers for use, do not combine SystemCheck results. The tool assesses the number of testing computers the same Internet connection can handle.
| Note |
|---|
This result may not accurately represent the actual transfer speeds during student testing, especially if you significantly change network conditions. |
...
See your program support page for the link to
...
start SystemCheck. Go to the SystemCheck website, and follow the instructions for each
...
of the following processes:
| Expand | |||||
|---|---|---|---|---|---|
| |||||
|
| Expand | ||
|---|---|---|
| ||
After you check your system:
Remember, if you are using ProctorCache, you must install it and run it on the proctor caching computer before you can check its connection speed and how many testing computers it can handle. |
| Expand | ||||
|---|---|---|---|---|
| cache
| |||
|
| Expand | ||||
|---|---|---|---|---|
| cache
| |||
|
| Expand | ||||
|---|---|---|---|---|
| cache
| |||
|