Set Up TestNav on Windows
Complete the setup using the sections below.
Install TestNav from the TestNav Download Page
TestNav program files are saved in C:\Program Files\TestNav.
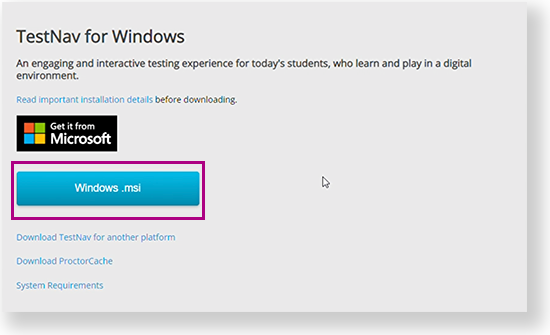
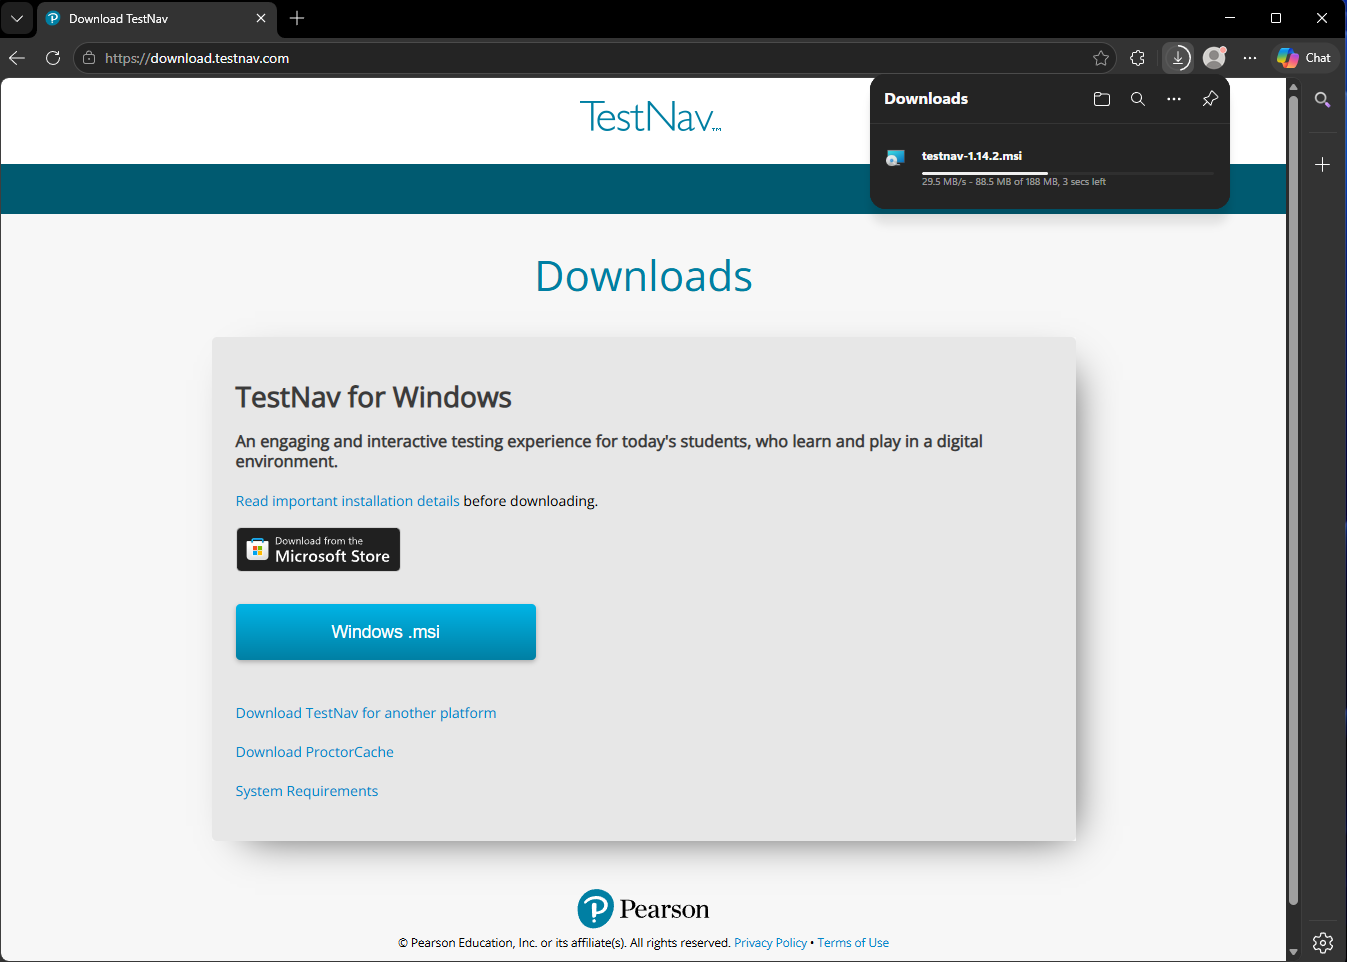
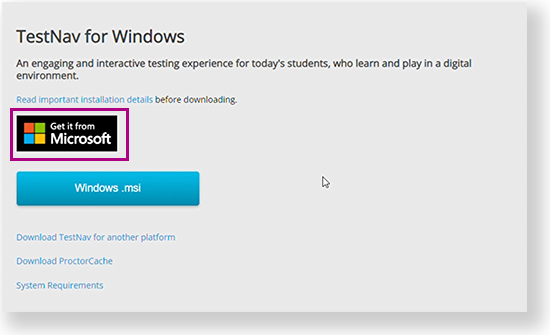
Go to the TestNav download page and click Windows.msi. To download it from the Microsoft Store, see Install TestNav from the Microsoft Store.
The file download progress will appear at the top of the window.
- Installation might complete without step 3, depending on your device.
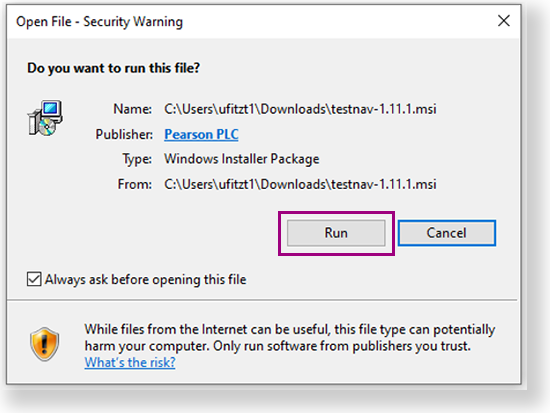
- If an Open File - Security Warning appears, click Run.
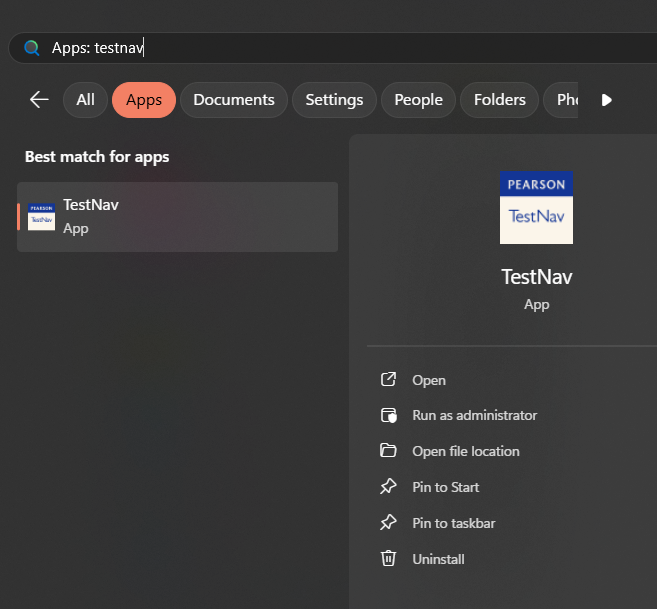
Depending on your organization, a prompt for higher-level access might appear. After TestNav is configured for your device, you can type TestNav in the search field to find it. A TestNav shortcut might also appear on your desktop or in the Start menu.

- Disable Cortana, XBox Game Bar, clipboard history, and text suggestions.
- If you use computer restoration or imaging software (for example, Deep Freeze), exclude the Pearson directory and the logs directory, as these contain student backup files and logs for troubleshooting.
- Jump to the Set Up Response File Backups and continue setup.
Install TestNav from the Microsoft Store
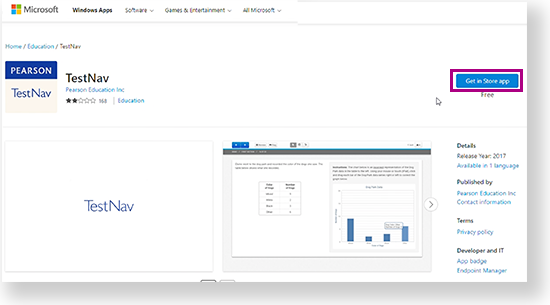
Click the Microsoft Store button from the TestNav Download page or go to the Microsoft Store and search for TestNav.
Click Get in Store app (or Install, if you previously downloaded TestNav on the same device.)
- TestNav begins downloading.
If your Windows device has a touchpad, you need to disable Three-finger gestures and Four-finger gestures. Go to Settings > Bluetooth & devices > Touchpad and click on Three-finger gestures and Four-finger gestures to expand the settings. Click the dropdowns next to Swipes and select "Nothing" for both.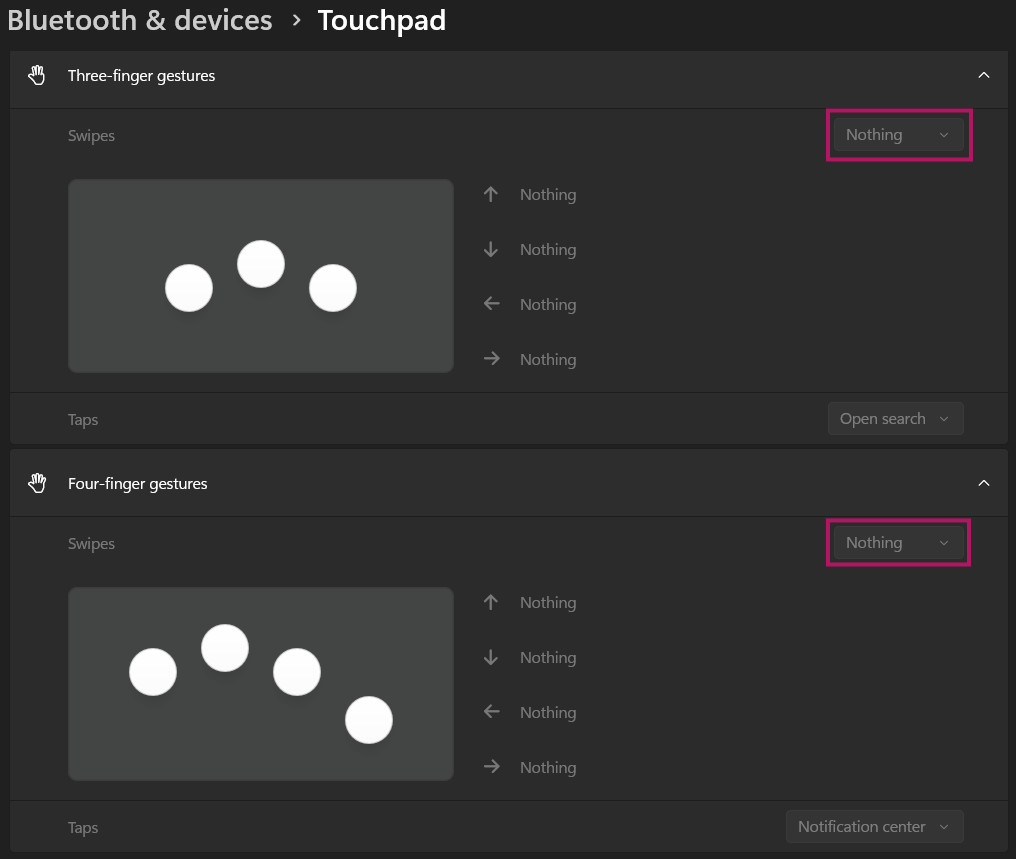
If your Windows device also has a touchscreen, go to Settings > Bluetooth & devices > Touch and disable the Three- and four-finger touch gestures setting.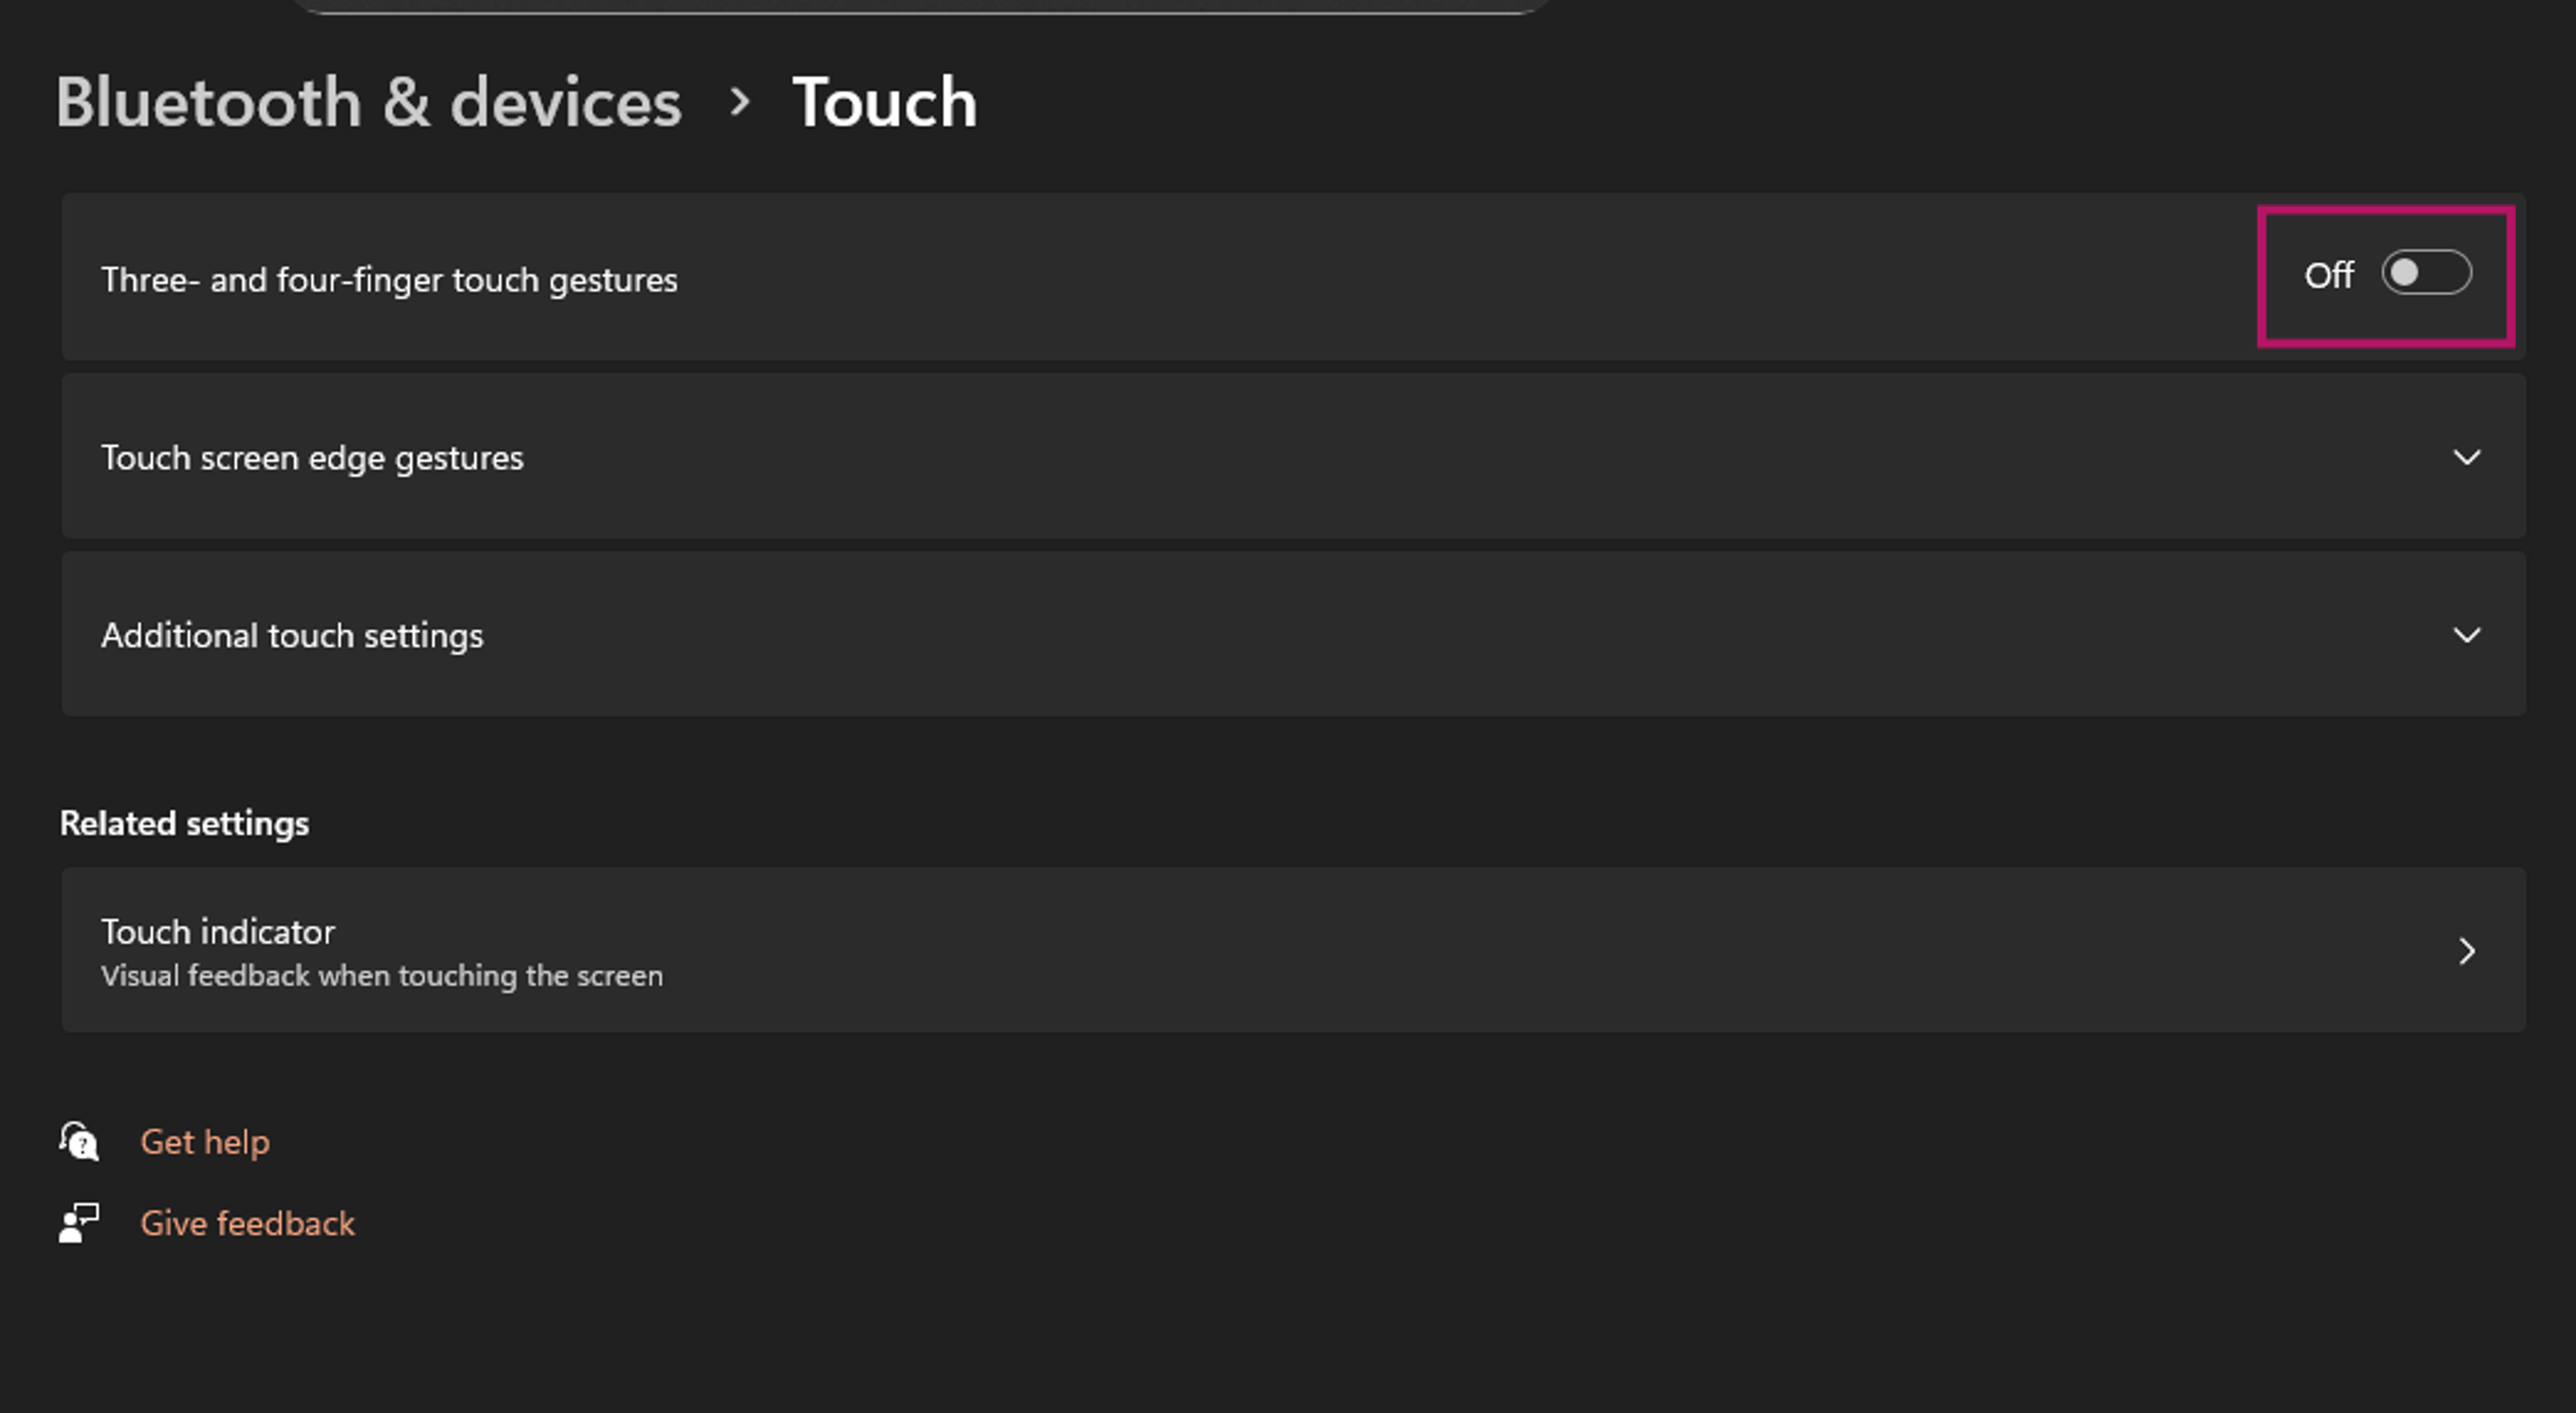
TestNav App Updates
- If you downloaded TestNav from the TestNav Download page, program files for minor updates save in {user_home}\AppData\Local\Pearson.
- You must give students write access to the update directory.
- You must download major updates from the TestNav Download page.
- If you downloaded TestNav from the Windows Store, all major and minor updates occur automatically.
Student Response File Setup
When a student responds to a test question, TestNav sends the response to the Pearson server. If the network experiences a connectivity issue, or the student encounters an error, TestNav saves the response to a saved response file (SRF). For configuration details, see: Set Up and Find Saved Response Files (SRF).
Allow Chromium to Access Private Networks
The first time you launch TestNav after installing, a dialogue may appear asking to allow Chromium to access private networks. If this dialogue appears, please click "Allow," as the Chromium process is what TestNav runs on.
Run App Check
It is essential to run the App Check on each student device before testing. For details, see App Check.
Sign in to TestNav
Start a test to ensure that you can do so without error. For details, see the instructions in Sign in to TestNav.
Run an Infrastructure Trial
Pearson strongly recommends running an infrastructure trial to verify the technology setup is complete and to familiarize teachers and students with the test. Use your training site through your assessment management system to complete the trial before the actual test day.