After you download TestNav Desktop for Windows and ProctorCache, complete the following:
These ordered steps correspond to sections below or a related setup page. You can click each link to go directly to the corresponding processes.
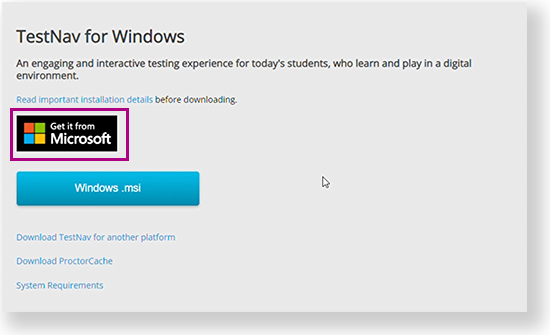
Install TestNav using installers from the TestNav Download page or directly from the Windows Store (only Windows 10S Anniversary update (version 1607) or later).
- Run App Check to verify system readiness.
- Sign in to TestNav to ensure that it installed properly.
Set up ProctorCache on your proctor caching computer(s).
Set Up Response File Backups, and set up a Secondary Save Location.
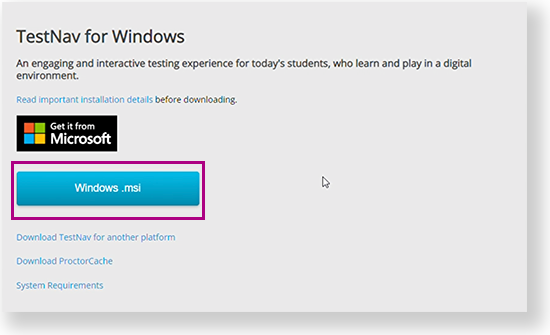
Install TestNav from the TestNav Download Page
TestNav program files are saved in C:\Program Files (x86)\TestNav. If you are using the .exe installer, you can choose a different install directory.
Double-click the .msi or .exe file that you downloaded.
.msi (Microsoft installer) file - contains explicit instructions about installing and removing an application.
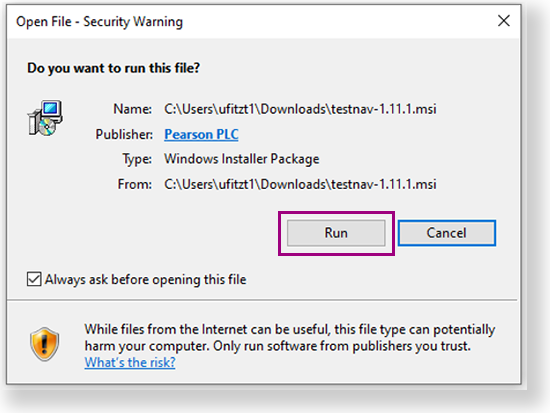
.exe (executable) file - provides a built-in installation wizard. You can choose program file locations using this type of installation.The Open File - Security Warning appears and asks if you want to run the TestNav file. Click Run.
If you downloaded the .msi installer, the installer window appears and automatically installs TestNav.
If you downloaded the .exe installer:
The Setup - TestNav window appears and asks if you want to continue installing TestNav. Click Yes.
The TestNav Setup Wizard appears. Click Next.
The Select Destination Location window appears. By default, TestNav program files save in C:\Program Files (x86)\TestNav. You can keep the default setting, or click Browse to choose another location. Then, click Next.
The Select Start Menu Folder window appears. By default, the setup wizard also stores program shortcuts in a Pearson folder in the Start menu folder. You can keep the default setting, or click Browse to choose another location. Then, click Next.
Click Install.
By default, the Launch TestNav check box is selected. If you do not want to immediately launch TestNav, deselect the check box, and then click Finish.
Mass Install
Because TestNav installation does not add entries to the Windows registry, you can copy the TestNav application and push it to student computers for mass installation.
Disable Siri and/or Dictation services before attempting to sign in to TestNav.
If you use computer restoration or imaging software (for example, Deep Freeze), exclude the Pearson directory and the logs directory, as these contain student backup files and logs for troubleshooting.
Install TestNav from the Windows Store
Click the Windows Store icon ( )
Click the search icon, and type TestNav.
Click Get (or Install, if you previously downloaded TestNav on the same device.)
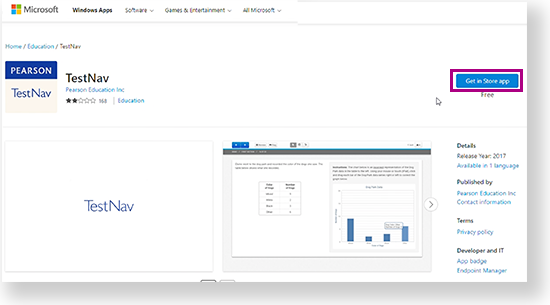
- TestNav begins downloading.
TestNav Desktop Updates
- If you downloaded TestNav from the TestNav Download page, program files for minor updates save in {user_home}\AppData\Local\Pearson.
- You must give students write access to the update directory.
- You must download major updates from the TestNav Download page.
- If you downloaded TestNav from the Windows Store, all major and minor updates occur automatically.
Run App Check
- Click or tap the appropriate icon for your test from the home page to go to the Sign In page.
Click or tap the user drop-down menu, and select App Check.
App Check (without optional Configuration Identifier)
On the App Check page:
Leave the configuration identifier field blank.
Click Run App Check.
You see green checkboxes for Kiosk Mode readiness and connectivity to TestNav, if the system passes. If one of these fails, you will see a Fail message and must check your connection and settings before running App Check again.
App Check (with optional Configuration Identifier)
If you have obtained a Configuration Identifier from your assessment management system:
Enter it in the Configuration Identifier field on the App Check page.
The configuration identifier allows TestNav to also check connection to ProctorCache computers. If your assessment management system allows, this configuration ID may also check for blacklist compliance. See your assessment management system documentation for additional information.
Click Run App Check.
If ProctorCache connectivity (or blacklist compliance) fail, TestNav provides information for possible resolutions. Use this information to troubleshoot, and run App Check again.
The screenshots below are examples of possible scenarios when running App Check with a configuration identifier.
Sign in to TestNav
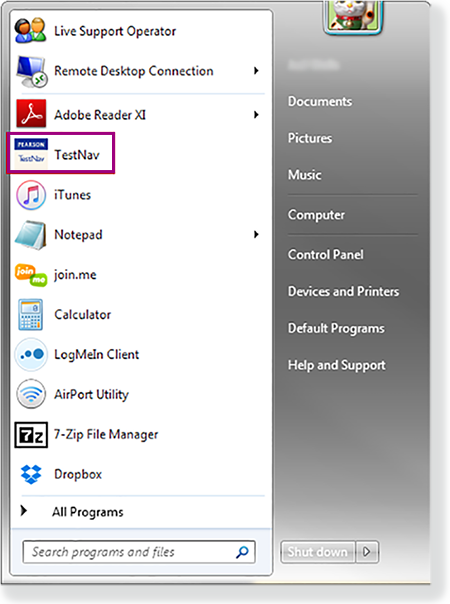
From the Start menu, click TestNav.
TestNav should appear in the Start menu. If you do not see TestNav, type TestNav in the search box.If you have not already done so, choose the appropriate icon for your test on the home page. If your test was selected before the test session, you see the Sign In page, rather than the home page.
If you need to select a different test, click the user drop-down menu at the upper-right of the page, and click Choose a different customer.
Click the appropriate icon for your test.
- Start a test to ensure that you can do so without error.
- If you see a Practice Tests link on the Sign in page, click Practice Tests and start a test.
- If you do not see a Practice Tests link, use an authorization ticket from your student management system and start a test.
Set Up Response File Backups
SFTP configuration is not supported by all assessment management systems. Consult your assessment management system user guide to determine whether the SFTP option is available.
Configure primary and a secondary save location through your assessment management system.
Configure student accounts to have complete read, write, and delete access in these save locations.
Communicate SRF and log file locations to test proctors.
Give proctors access to SRF and log files by either of the following:
Grant admin rights to proctors on each testing computer.
Instruct proctors to access these files while the student is logged in to the testing computer.
Default Primary Save Location
Operating System | SRF Location | Log File Location |
---|---|---|
Windows | {USER.HOME}\Pearson\srf\ | {USER.HOME}\Pearson\logs\ |
Secondary Save Location
You can set a secondary save location through your assessment management system. Set a secure file transfer protocol (SFTP) address as the save location to ensure that the secondary save applies to all testing computers and devices.
Pearson strongly recommends that you configure a network drive as a secondary save location to ensure that you do not lose responses, even if a student cannot continue to test on the same computer.
Run an Infrastructure Trial
Pearson strongly recommends running an infrastructure trial to verify the technology setup is complete and to familiarize teachers and students with the test.
Use your training site through your assessment management system to complete the trial before the actual test day.
Related Information
You can learn more about SRF and log files on the Set up and Use TestNav page.