You can enter or import Personal Needs and Preferences (PNP) profile settings to appropriately assign students accessibility features and accommodations for their online testing sessions. PNP settings identify student accommodation needs. The system implements the API calls that make the PNP accommodations function.
Pearson recommends that you import this information through a PNP file upload (Import/Export Data); however, you can also enter it by assigning the student to a test session (Assign/Unassign a Test).
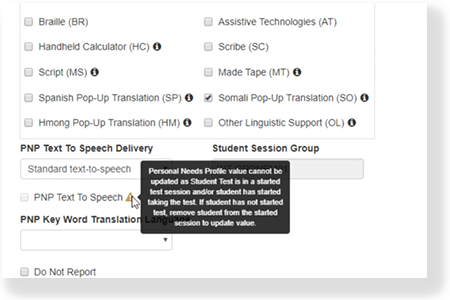
You can control accommodations through either a form or student registration (PNP Accommodations).
Step-by-Step
Check individual student statuses and confirm his or her assigned accommodations or accessibility features:
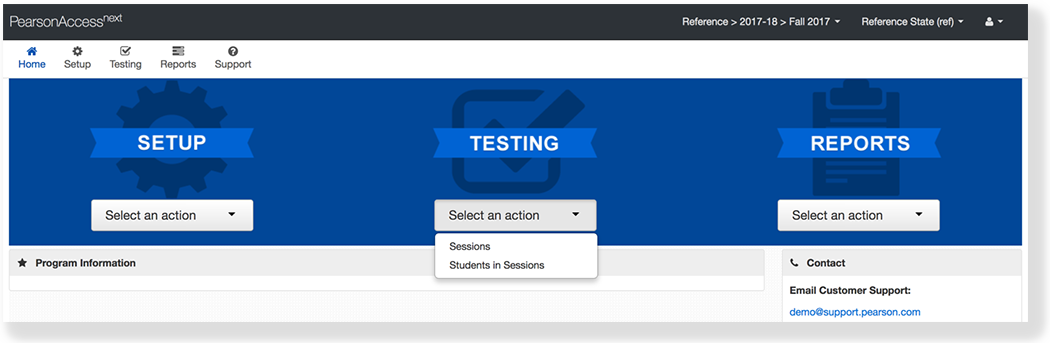
From Testing, select Students in Sessions.
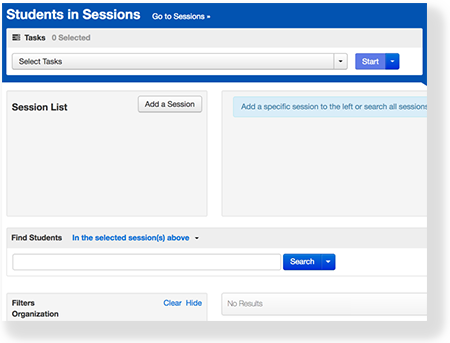
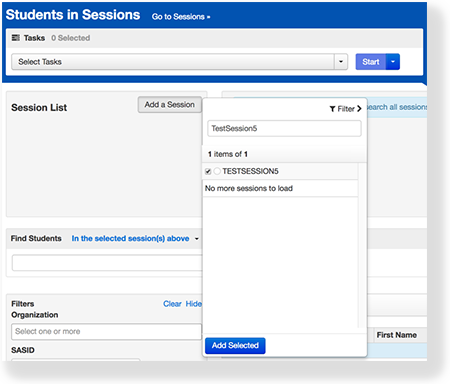
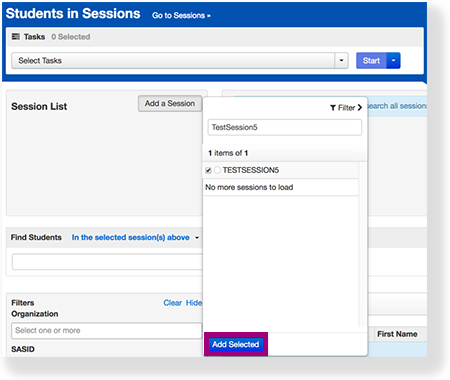
Click Add a Session.
Type a session name into the search field, and click the checkbox next to the session.
Click Add Selected.
Hover over the accommodation next to the student test to view details.
Add the student to a test session. You can add the student to the original test session or to another test session that supports the necessary accommodation(s). The system assigns the student a test form with supported, marked accommodations.
If the student has already signed in to TestNav, consult your testing program materials, as the required actions vary based by program.