You can use the Authoring > Items page to create and test items. This article shows how to manage items. The actions you can take depend on your role permissions.
See also: Author Test Items, View Item History, Print Items and Forms for Review
View, Duplicate, Edit or Delete an Item
To modify a single item:
- Go to AD Authoring > Items.
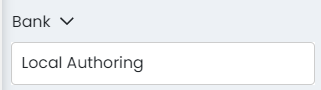
- Select the Bank with the items you want to manage. Select additional filters to narrow your search if needed.
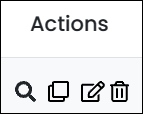
- For an individual item, use the icons in the Actions column to:
- Preview
- Clone
- Edit
- Delete
Bulk Change or Export Items
User permission control who can perform these actions.
To modify multiple items:
- View items as described above.
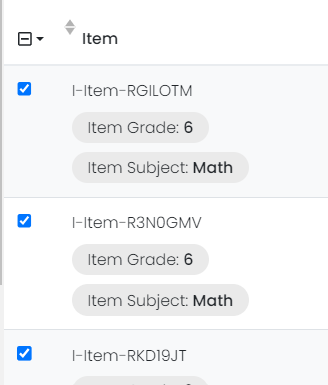
- For one or more items, select the checkboxes for the items to manage. You can also use the header to select all items or select all items on the current page.
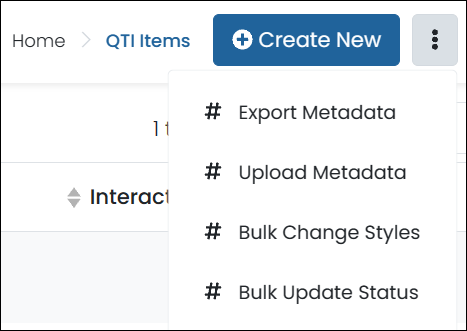
- Select the more menu on the top right, and then select one of the following premission-based actions:
- Export Metadata: Export a CSV file with item metadata, including name, status, interaction, standard, etc.
- Upload Metadata: Upload a CSV file to update metadata for the selected items. The first column must be the exact item name or item reference ID and be named "item". Other columns must be either a Metadata Field Name or Metadata Field Key.
- Bulk Change Styles: Add or replace styles for the selected items.
- Bulk Update Status: Change the status of the selected items. Select the old status and new status to replace it.
- QTI Item Export: Export test items in QTI standard.
Tiny Link: https://support.assessment.pearson.com/x/LwGiBg