In most cases, classes populate in ADAM through a data sync and not a roster upload in ADAM. Launchpad is the preferred location for adding users and classes if not available via a sync to source data.
If appropriate, permissioned users can upload CSV files on the Roster Upload page to populate organizations, classes, accommodations, and more. You can also upload CSV files from other rostering pages, such as Quick Class Upload from the Classes page and Updating Accommodations for Multiple Students on the Users page.
For instructional purposes, these steps refer to uploading organizations (Orgs); however, you can use the steps beginning with the Academic Sessions, Courses, Classes, Users, Demographics, Accommodations, Roles, or Enrollments tabs.
Select Rostering, and then select Roster Upload.
Select the Orgs tab.
Select the Click to download example template link to download a blank CSV file with headings for each column.
- Populate the CSV file with the data you want to upload. The Data Fields section on the right shows the required fields, format, and description.
- Browse for or drag and drop the CSV file into the CSV Upload field, and then select Upload. You may need resolve errors in the CSV file and perform the upload again.
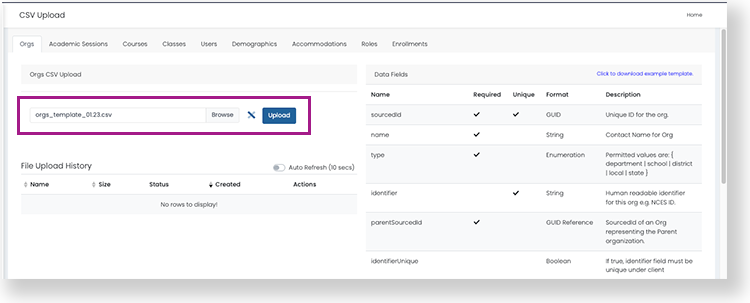
- You can view your upload's progress in the File Upload History section.
Tiny Link: https://support.assessment.pearson.com/x/BoBHBg