Define Bank Permissions
See also: The 'AD Authoring' section of Role Configuration
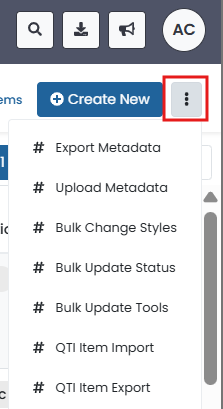
Bank permissions allow specific roles access specific bank features such as exporting and uploading. Additional setup may be required for each user role in Role Configuration. Before setting up bank permissions, add and needed item and stimulus metadata first. Most of the options, if enabled, allow the user to select item(s) and access the option from the Actions menu of the item list (Authoring > AD Items).
Set Up Bank Permissions
For each bank, specify user roles and what additional options each role needs.
Navigate to AD Authoring > Banks.
Select anywhere on the bank tile to access the Bank Edit window.
Select the Permissions tab.
Select roles from the Select a user role to add menu.
Select the checkboxes for the features needed for each role.
- Select Save.
Bank Permissions Options
This section explains the options available for each role.
- Export Metadata: Allow user to export item details in a CSV file. This export can be a useful tool for item quality review as it allows a quick way to scan that items are tagged as intended.
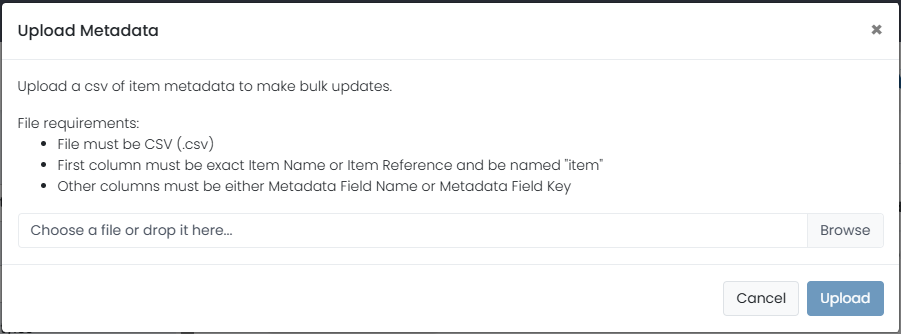
- Upload Metadata: Allow the user to upload a CSV file to add metadata values to multiple items via a CSV file. The metadata field must be set up prior to upload. See also: Define Item Metadata
- Export Standards: Allow user to export a csv file with selected attached to that item as well as corresponding peers.
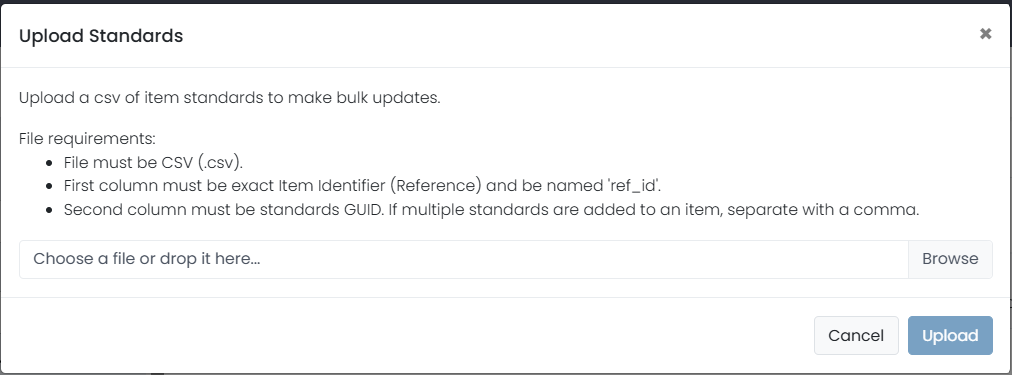
- Upload Standards: Allow use to upload a csv of item standards to make bulk changes. The file requires the item ID in the first column and the standards guid in the second column. NOTE: this will CHANGE standards on the item, not ADD standards. So, if an item has an existing standard, that guid needs to be in the spreadsheet on upload to retain it. Multiple standards need to be separated by a comma in the guid cell to upload correctly.
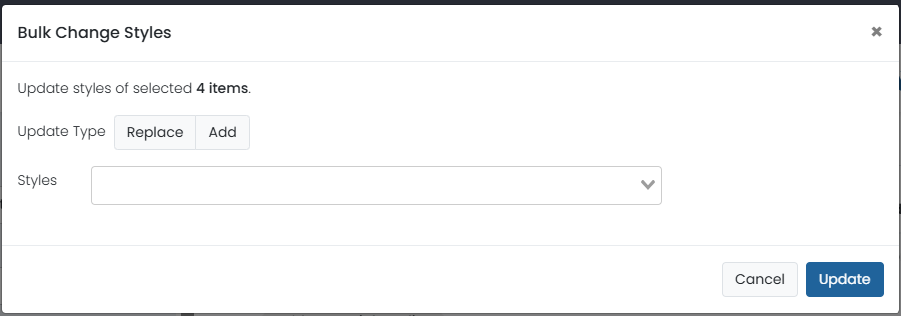
- Bulk Change Styles: If the user also has the user permission to edit AD Media/Styles and there are styles added, allow the user to add or replace across multiple items at once.
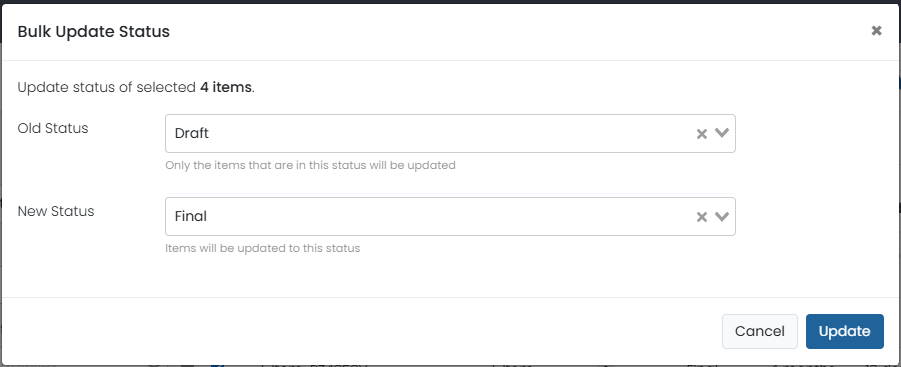
- Bulk Update Status: Allows the user to change the item status of multiple items at once.
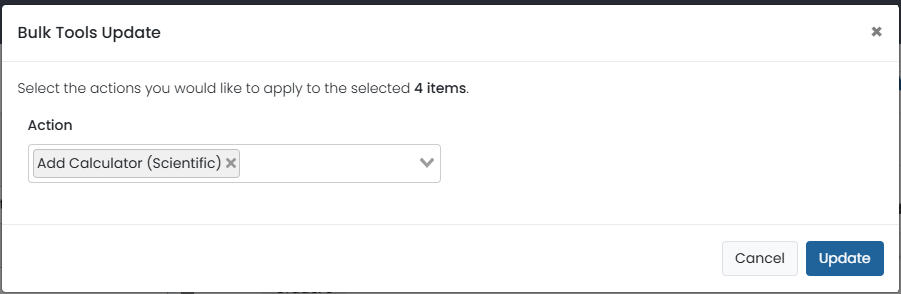
- Bulk Update Tools: Allow the user to make a math tool available to all testers for the selected items.
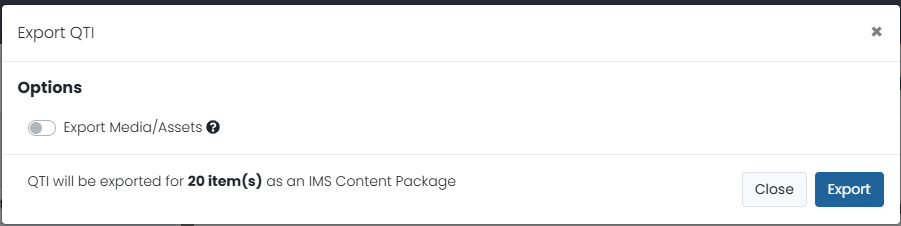
- Export QTI Content: Allow the user to export selected items as a content package, with or without media.
- Upload QTI Content
- Item Delete: Allow the user to permanently delete multiple items in this bank at once. Allow sparingly.
- Stimulus Delete: Allow the user to permanently delete multiple stimuli in this bank at once. Allow sparingly.
AI Content Create: Allow the user to see a ‘AI Generate’ option on the interaction screen on mouse-over for some item types.
- Item Metadata Filters: Use to limit item access in a bank to only meeting designated criteria. This can be useful when different groups of people need access to create items and you want to limit their access to only the items they will work with. In this example, you could create a custom user role for science item creators and use this permssions option to limit their access within a bank that contains multiple subjects.

- Stimulus Metadata Filters: Use to limit stimulus access in a bank to only those meeting designated criteria.