`The best time to find an error on an item is before students do. AD Authoring has some built-in features to facilitate item review. Your Pearson Delivery Team can assist with setting up a review workflow in an item bank or a Form Review and History process.
Preview Items as You Build Them
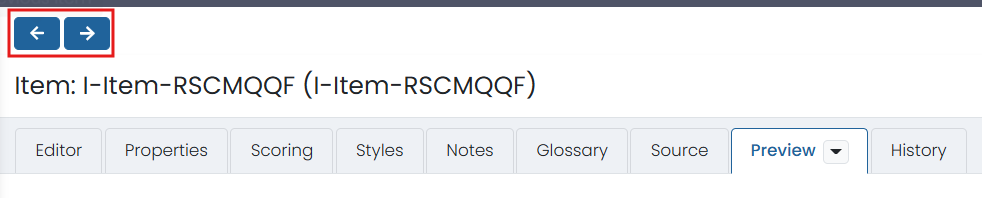
As you build items, verify that the item looks and scores as expected. On the Preview tab, the tab text and menu provide different views. Once you have reviewed an item, use the arrows at the top to navigate to the next item in the bank.
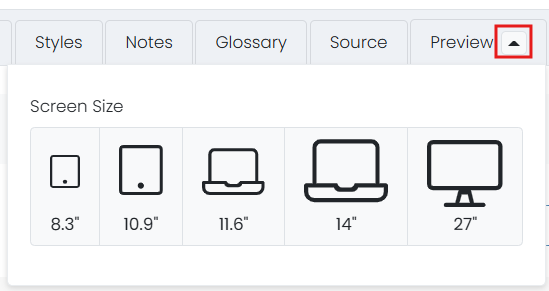
Simulate the Item at Various Screen Sizes
The screen resolution may vary on student devices, but you can get an approximation of how the item will look various student devices by selecting a size from the Preview menu.
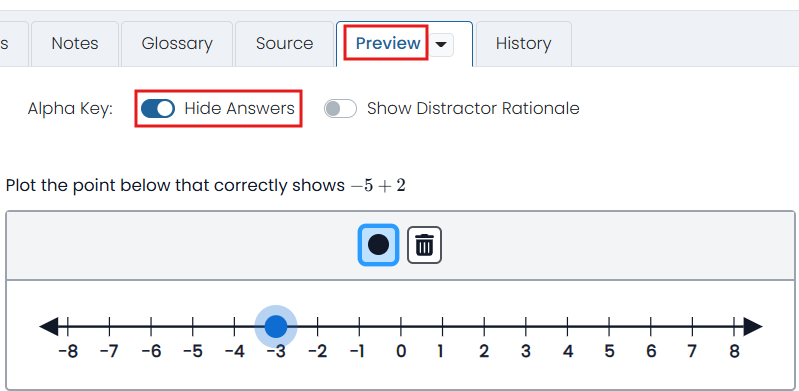
Confirm the Correct Answer
To make sure the correct answer indicated in the item is as expected, select Preview and toggle on 'Show Answers.' If distractor rationales were added you can check that here as well.
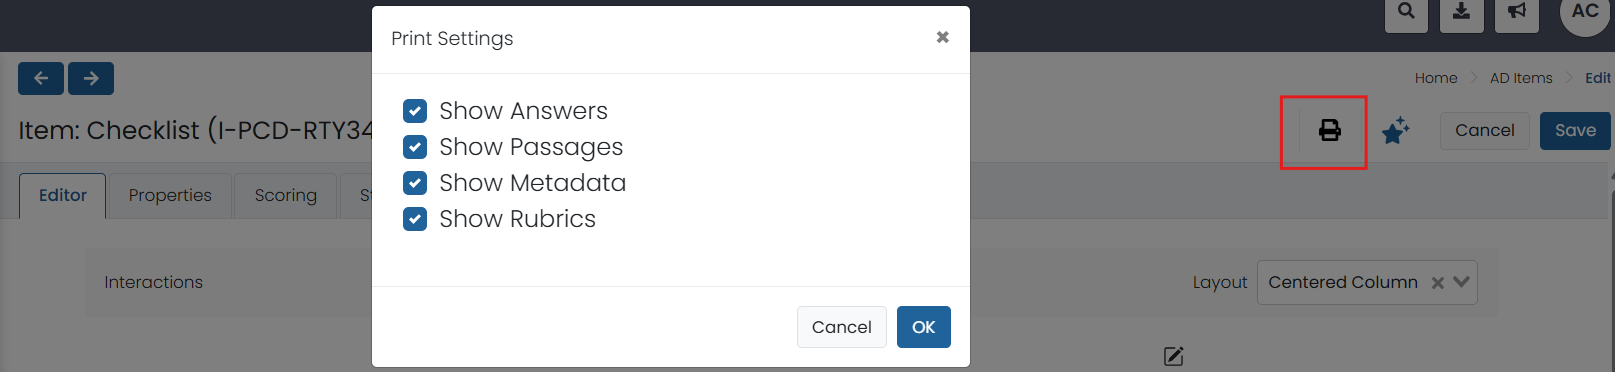
Print an Item for Review
Sometimes it is helpful to see an item printed out. A print icon is available from edit mode for each item. There is the option to choose what information is included with the icon.
Confirm Each Item is Aligned to a Standard
A test map is available at the form level. It indicates what standard is aligned to each item. Use this file to make sure each item has a standard. To check that each item has an accurately aligned standard, it may be helpful to print out the test map as you preview item content (described above).
If needed, you can create a 'placeholder' form for the purposes of generating the test map and then delete the form.
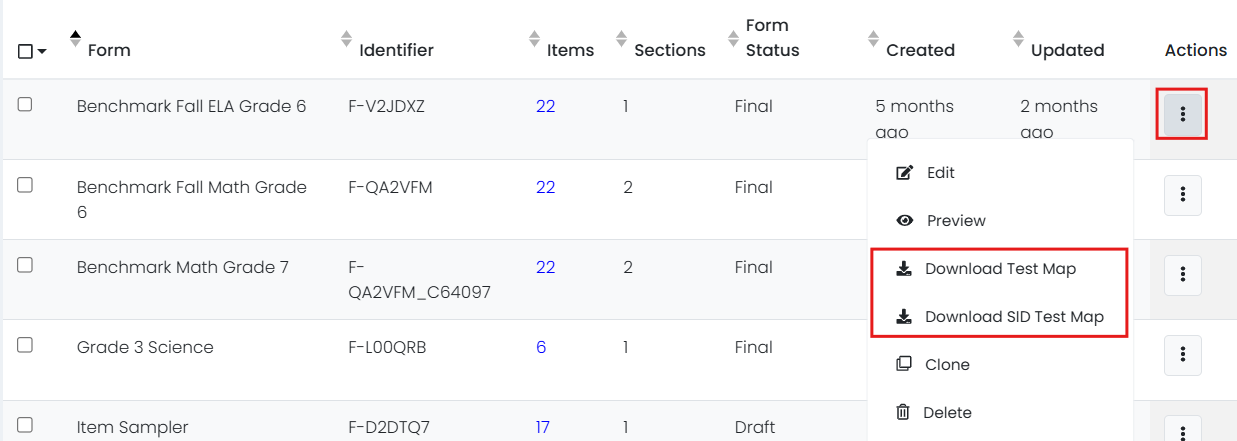
To access the test map, go to AD Authoring > Forms. Select the correct bank. In the Actions menu for the form, select Download Test Map, or Download SID Test Map (this version has additional fields). Open the downloaded file.
Tiny Link: https://support.assessment.pearson.com/x/MwGiBg