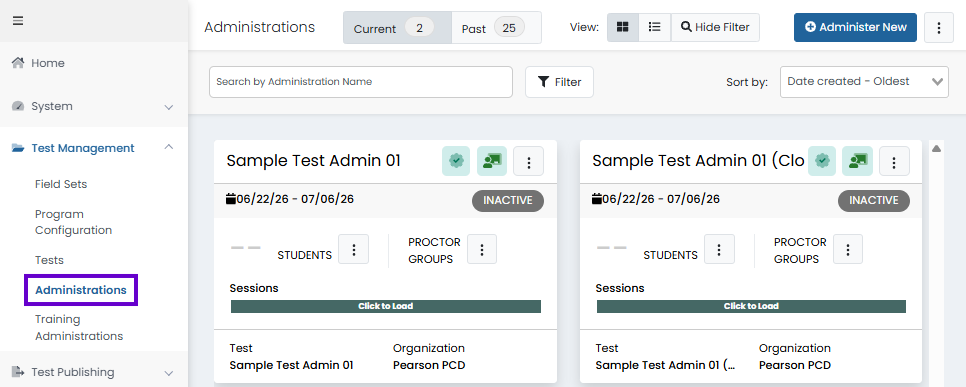
An administration card appears on the Administrations page for each scheduled administration. The admin card shows information about the administration and allows you to perform certain actions. Your role permissions determine whether you can see admin cards and what actions you can perform.
The Administrations page is used to create, view, and manage test administrations. Administrations define when a test is available, which students are assigned, and which proctor groups are responsible for test delivery.
Classic User Interface:
Updated User Interface:
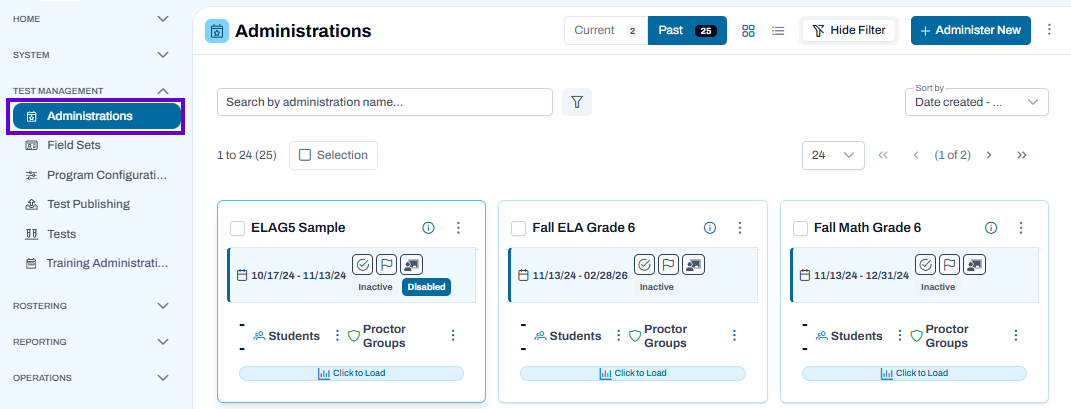
View Administrations
- Navigate to Test Management > Administrations.
- Use the Current and Past tabs to switch between active and completed administrations.
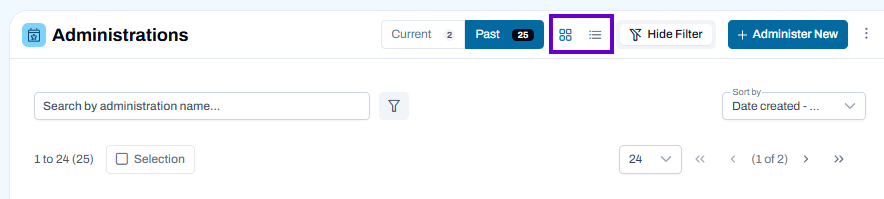
- By default the page filters to using Administration Cards as the view. For those that prefer, you have the option to toggle to a List View.
- Browse administration cards to view key details, including:
- Administration name
- Testing window dates
- Status (for example, Inactive or Active)
- Associated test
- Organization
- Student assignments
- Proctor groups
Search and Filter Administrations
- Enter a name in the Search by Administration Name field to locate a specific administration.
- Select Filter to apply additional search criteria.
- Toggle between Show Filter and Hide Filter. Use the Filter button to filter the administration list by program, test, test code, and administration type.
- Use the Sort By menu to change how administrations are displayed.
Classic User Interface:

Updated User Interface:
Tiny Link: https://support.assessment.pearson.com/x/wADVBw